Aquarium Nitrogen Cycle Explained for Beginners: A Week-by-Week Visual Timeline
If you’re brand new to fishkeeping, the aquarium nitrogen cycle explained for beginners usually gets delivered like some chemistry lecture you never signed up for. Charts, bacteria names you can’t pronounce, vague warnings about ammonia. Honestly? I wish someone had just told me what things would actually look like in the tank. My first betta, Gerald, would probably still be alive if I’d known that a crystal-clear tank can still be a total death trap.
What follows is a breakdown of the cycle into a week-by-week visual timeline. You’ll know what you should be seeing, what your test kit will show, and what those weird smells or that mysterious film on your substrate might mean. I desperately wanted this format back when I was juggling college classes and trying to aquascape thrift-store vases. (Spoiler: it didn’t go well.)
Stick with me for the next few minutes, and you’ll walk away with a simple plan, a sense of what’s actually normal, and a checklist that tells you exactly when your tank is safe for fish.
The Nitrogen Cycle in Plain English: What’s Really Happening in Your Filter
Think of the nitrogen cycle as your tank learning how to clean up after itself. Every fish poop, every tiny bit of uneaten food, even decaying plant matter. All of it eventually becomes ammonia. And ammonia? It’s basically poison.
Two main bacteria colonies grow during cycling:
– One group eats ammonia and turns it into nitrite.
– A second group eats nitrite and turns it into nitrate.
Nitrate, in reasonable amounts, is the least dangerous of the three. Plants even like it.
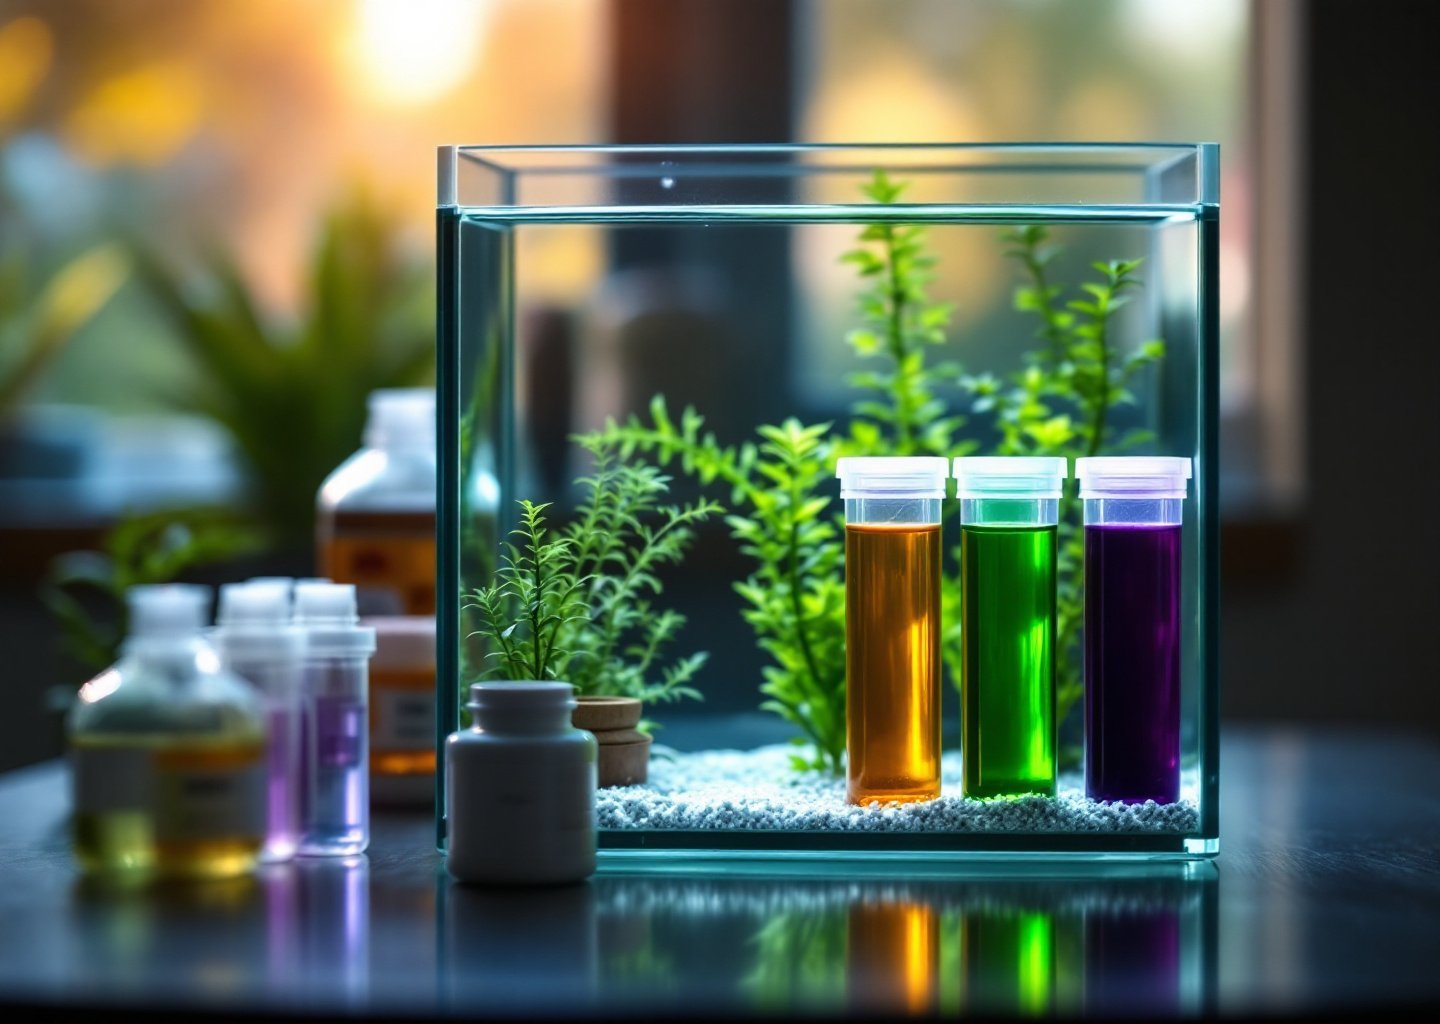
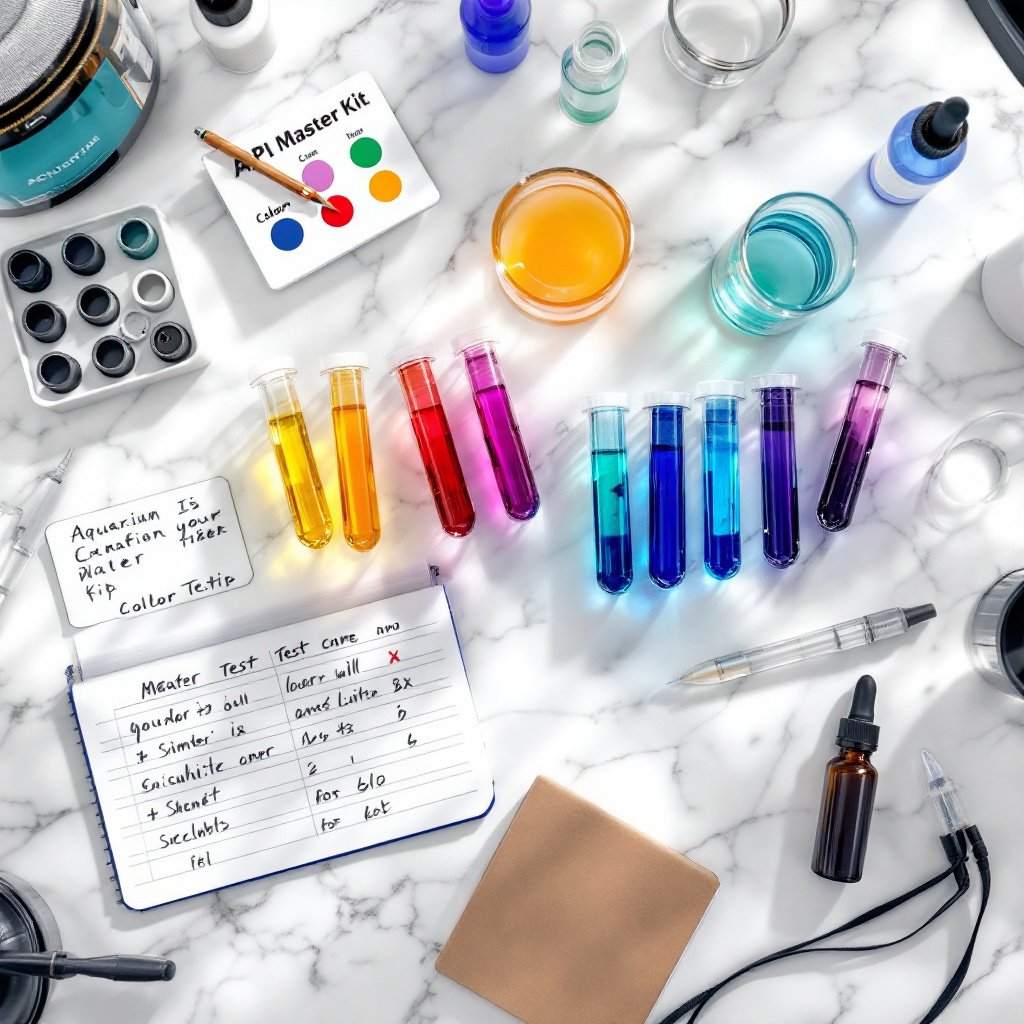
Here’s what people forget to mention, though: you can’t actually see these bacteria growing. You can only watch the results on your test kit. So your job isn’t to stare at the tank looking for clues. Instead, learn how to test aquarium water parameters and interpret those numbers.
Weeks 1–2: The Ammonia Phase, What You’ll See, Smell, and Test
Right here is where beginners usually panic. Ammonia climbs, nothing seems to be happening, and you start wondering if your tank is cursed. Sound familiar?
What you might notice:
– Slight cloudiness in the water, kind of like skim milk.
– A faint earthy smell. Not gross, but definitely noticeable.
– Little bubbles rising if you used soil or nutrient-heavy substrate.
What your test kit will read:
– Ammonia climbs fast. 1.0 to 4.0 ppm is totally typical.
– Nitrite stays at zero.
– Nitrate stays at zero.
I use the API liquid kit because it’s still the best freshwater aquarium water test kit in 2024 in terms of price and consistency. Strips are tempting, I get it, but they’re way too vague during cycling.
Googling “ammonia spike in fish tank how to fix”? Here’s the shortcut: you don’t fix it. Not yet. The spike is the whole point. You just control it so it doesn’t get absurdly high. Keep it at or under 4 ppm.
During this phase, beginners get confused about pH too. Ideal pH levels for tropical fish tanks hover around 6.5 to 7.5, but during cycling your pH might shift around. Let it. Really low KH? Check an aquarium water hardness GH/KH guide and consider boosting KH a bit so your cycle doesn’t stall.
Weeks 2–4: The Nitrite Spike, the Dangerous Middle Ground Most Beginners Miss
Nitrite is the silent troublemaker. Ammonia-eating bacteria finally show up, they start doing their thing, and nitrite climbs like a rocket.
What you might notice:
– Water may clear up suddenly.
– Snails (if you accidentally added hitchhikers) might crawl higher than usual.
– No smell change, which is exactly why nitrite is so sneaky.
What your test kit will read:
– Ammonia starts dropping. Finally.
– Nitrite shoots upward. I’ve had tanks hit 2 to 5 ppm.
– Nitrate begins to appear.
Here’s the number one reason people message me with “fish dying, water looks clear” confusion. The tank looks pristine. It is absolutely not safe.
Nitrite is rough on fish. It binds to their blood and stops oxygen transport. And here’s the frustrating part: they give almost no visible signs until they’re really struggling.
My best advice in this stage:
– Test every day. Yes, every day.
– Don’t try to force the nitrite down with giant water changes unless it spikes above 5 ppm.
– Don’t add fish. Even if your tank is gorgeous and perfectly planted.
Speaking of plants, now’s a good time to check planted tank water chemistry requirements. Many plants are basically on cruise control during a cycle, but some melt a little. Don’t panic if your Alternanthera turns into mush and then resurrects later. Happens to the best of us.
Weeks 4–6: The Nitrate Stage, Signs Your Beneficial Bacteria Colony Has Arrived
Everything finally clicks in this phase. You’ve been patient. It’s about to pay off.
What you might notice:
– Water looks bright and almost sparkly.
– Plants show new growth.
– Brown diatoms may disappear or fade.
What your test kit will read:
– Ammonia hits zero within 24 hours of dosing it.
– Nitrite drops toward zero.
– Nitrate rises steadily.
People often start searching the nitrogen cycle again at this point because they’re not sure if their nitrate number should keep climbing. It should! That means bacteria are doing their job.
Nitrates under 20 ppm are ideal for most tropical fish, with under 40 ppm being the maximum tolerable level for hardier species. In freshly cycled tanks, you may see nitrates climb higher initially, so plan on doing a water change before adding fish to bring them down.
Never rising nitrates? Your cycle may be stalling. Usually this points to:
– Extremely low KH
– Lack of ammonia source
– Super cold water
– Overcleaning your filter
Leave your filter alone. Seriously. I once killed an entire bacterial colony by cleaning mine with hot tap water because I thought it looked “grimy.” Please don’t repeat my mistake.
Cycling Shortcuts: What Actually Works vs. Fish Store Myths That Kill
About ten thousand myths are floating around about shortcuts. Some work. Some will send you spiraling into algae city.
What actually works:
– Bottled bacteria brands that are reputable: TurboStart, FritzZyme, Dr. Tim’s.
– Using established filter media from a trusted tank.
– Seeding substrate from a healthy aquarium.
– Keeping temperature slightly warmer (around 78 to 80 degrees) to speed bacteria growth.
What does not work:
– Running your filter for a week with no ammonia.
– Letting the tank “sit” because it looks clear.
– Magical one-dose potions that stores push.
– Goldfish cycling. Just… no.
People keep asking “how to cycle aquarium in one week,” and honestly, it is possible with seeded media and bottled bacteria. But for total beginners, the rushed version often ends in mistakes. I prefer the slow method because you learn what the tank looks like during each phase, and that knowledge helps you long term.
Now’s also a good time to review aquarium water chemistry basics. GH affects osmoregulation. KH affects pH stability. pH influences bacteria speed. Everything connects in ways that frustrated me until I finally mapped it out on paper.
Your Cycle Complete Checklist: The 24-Hour Test That Proves You’re Ready for Fish
You’re almost there! Before adding fish, run this simple test. I still do it every single time.
The 24-hour verification:
– Dose ammonia to 2 ppm.
– Wait 24 hours.
– Test ammonia, nitrite, and nitrate.
You’re fully cycled if:
– Ammonia reads zero.
– Nitrite reads zero.
– Nitrate climbs from your baseline.
Pass that test? You’re ready. Do a big water change to lower nitrates below 20 ppm. Then you can start stocking slowly.
Once your tank is ready, don’t add a big group of fish all at once. Start small. Add a pair, or a single betta, or a school of six nano rasboras if your tank size allows. Give your bacteria time to adjust because they grow based on food supply, and that supply is fish waste.
I still geek out over this part because it’s like watching an invisible ecosystem take shape. And once you understand this cycle, that knowledge sticks with you through every future tank. From your first 5-gallon to the big scape you’ll eventually convince yourself you have space for. (You probably don’t. You’ll get it anyway.)
Want next steps? Check your stocking ideas and research species that fit your water parameters. Or look into beginner-friendly nano fish or low-tech planted tank guide.
Take your time, enjoy the process, and welcome to the hobby.