
Canister Filter Setup Step-by-Step: A Guide That Focuses on Where Leaks Actually Start
Most beginners panic about one thing during their first canister install: a flooded floor. I get it. My very first setup lived on a wobbly IKEA shelf in my tiny Portland apartment, and I hovered over it like an overcaffeinated lifeguard. This canister filter setup step-by-step guide focuses on the spots where leaks actually start so you can avoid the classic beginner traps.
Most canister guides read like they were copied from an instruction manual. They tell you what the parts are, not how they fail. And leaks usually come from tiny, predictable issues that don’t get mentioned.
What I wanted was a guide that feels like having a knowledgeable friend next to you, tapping the risky spots and saying, “Check this before you plug it in.” That’s the entire angle here: real failure points, real fixes, and the method I now use on every build, from my 5-gallon shrimp tanks to my 40-gallon breeder.
By the end, you’ll know how to install a canister filter on a freshwater tank without anxiety, how to connect canister filter tubing without leaks, and how to prime a canister filter for the first time without losing your mind.
Pre-Installation Prep: Unboxing Inspection and the Dry Fit Test
Opening a canister box is oddly exciting. All the baskets and tubing feel like building a small robot. Before any of that goes near water, do a simple inspection that saves you from returning a faulty unit later.
Check these first:
– O-ring seated evenly around the lid
– Latches closing with even tension
– Baskets sitting flat, no wobble
– Hose barbs smooth and not warped
– Primer button moving freely
– No mystery moisture inside the canister
What’s a dry fit test? Set the empty canister on the floor, latch it, then gently twist the body. Creaking or flexing means the gasket might be pinched. Reopen it and reseat the O-ring.
Takes maybe three minutes. It’s saved me from two returns in the past five years.
Hose Routing Done Right: Cutting, Connecting, and the Double-Clamp Method
Most leaks come from tubing. Not cracks in the canister body. Not motor failures. Tubing.
Look at the path from tank rim to canister location. Avoid steep bends because they put stress on the joints. Aquarium canister filter hose routing tips often skip this, but the routing matters as much as the clamps.
Cutting tubing:
– Use a sharp pair of scissors or a tubing cutter
– Cut straight, no angles
– Warm the ends in hot water when they feel stiff
Connecting tubing:
Push the tubing onto every barb until it hits the base of the fitting. Leave even a few millimeters exposed, and it can weep water under pressure.
Now for the magic: the double-clamp method.

Two stainless clamps, placed a few millimeters apart, tightened just until snug. Not crushing the tubing, just firm. My second nano tank drip incident, the one that almost soaked my sketchbooks, taught me this lesson. Never skip double clamping now.
Does your model use quick disconnects? Clamp the hose on the barb side only, not the valve mechanism. And keep the disconnect facing outward so you can access it easily for maintenance.
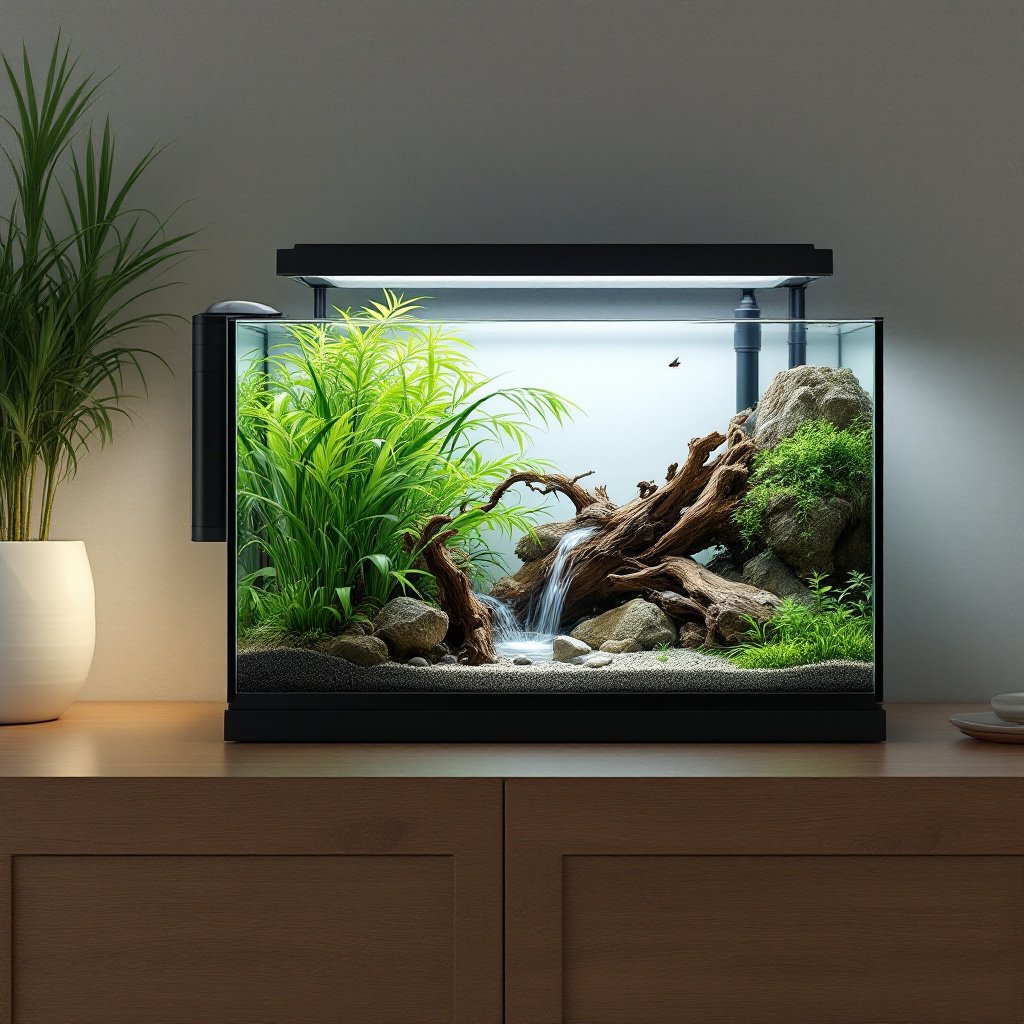
Intake and Output Placement: The Flow Pattern Most Beginners Sabotage
Every brand shows different diagrams, but I use what I learned from aquascaping. Water flow is basically layout composition. Only underwater and moving.
The biggest mistake beginners make? Placing the intake and output right next to each other. You get a circular swirl that looks cool but barely moves debris.
A better approach:
– Output near the surface on one side of the tank
– Intake lower on the opposite side
– Aim the output slightly forward, not straight down
You get a long, slow loop that sweeps across the tank. It also boosts gas exchange without splashing, which keeps things quiet and avoids that protein film that loves to photobomb tank photos.
Tall plants like val in the back? Angle the output so the leaves sway gently instead of whipping around. Hardscape creating a dead zone behind a big rock? Move the intake slightly forward to catch debris drifting out of it.
Use these canister filter intake and output placement tips, and you’ll instantly improve water clarity without raising flow.
The 2-Minute Priming Method: Filling, Bleeding Air, and Why Filters Refuse to Start
Priming is where most newbies assume they broke something. My first canister sat on the floor while I pumped the primer button like I was trying to restart a toy rocket.
Here’s the fastest, least messy method. Works on almost every model.
Step 1: Fill the canister body with tank water before closing it.
Step 2: Attach all hoses and quick disconnects.
Step 3: Open both valves fully.
Step 4: Lower the filter below the tank and wait. Gravity will fill the hoses most of the way.
Water stalling halfway? Lift the output hose slightly or tilt the canister. Air pockets get trapped in weird little corners, especially when the tubing bends sharply.
When the hoses are full, plug in the filter.
Motor humming but nothing happening? Try this:
– Tilt the canister forward 10 degrees
– Then backward
– Then give the side a light tap
Air rises, so tilting forces the bubbles toward the outlet. I’ve had filters start seconds after the tiniest tilt.
Nothing moving at all? The impeller might be spinning on air. Open the output valve first, wait, then open the intake. Sometimes reversing that order helps. In my experience, this fixes the vast majority of “how to fix canister filter not priming” problems.
Still have trapped air? Hold the output hose right at the surface. Tiny fizzing bubbles are normal during break-in. Big glugs mean you need to tilt again.
This doubles as the easiest way to prime canister filter models that lack primer buttons entirely.
The 24-Hour Leak Watch: Checkpoints and Early Warning Signs
Once your filter runs smoothly, do what I call the 24-hour leak watch. Not sitting next to the tank like a guard dog, just quick check-ins.
Checkpoints:
– All hose joints
– The seam between lid and canister
– Under the canister basket
– Any section of tubing with a bend
– Quick disconnects
Do this at 10 minutes, 1 hour, and before bed.
Early warning signs:
– A faint ring of moisture under one hose
– Rattling sound near the motor
– Drips that evaporate faster than you can find them
– Tubing that feels tacky or slightly damp at the joint
Most leaks appear early and stay tiny. See anything strange? Power down the filter and tighten the clamp slightly. Damp lid seam? Unclamp the whole thing and reseat the O-ring with a thin smear of silicone lubricant.
I’ve only had one serious leak in years, and it came from a cracked hose that I cut too short. Since adopting this process, nothing.
A canister filter looks intimidating at first, but once you understand the weak spots, it becomes the most reliable part of your entire setup. Now that you’ve gone through this canister filter setup step-by-step guide, your job shifts to simple upkeep.
Your maintenance schedule:
– Rinse mechanical media every 3 to 4 weeks
– Replace fine pads when flow drops
– Check the impeller every few months or when you notice reduced performance, and clean as needed
– Inspect hoses every few months
– Inspect O-rings regularly and replace them when they show signs of wear, cracking, hardening, or compression set
Hear gurgling, see microbubbles, or notice reduced flow? Usually means trapped air or dirty media. Not a leak. A quick tilt or rinse fixes it.
Still shopping for equipment? The best canister filter for beginners with easy install models tend to have large primer buttons and simple latches. But almost any model becomes beginner-friendly with the methods above.
For next steps, I’d pair this with guides on surface agitation, water clarity, and flow path tuning. Something like aquarium flow setup guide would make a great follow-up.
And if you’re in a small apartment like me and juggling multiple nano tanks, you’ll appreciate how quiet and low-maintenance a properly installed canister becomes. Once it settles in, you hardly think about it again. Except maybe when you admire how clear the water looks.