How to Set Up an Aquarium Heater Safely: Lessons From My $300 Disaster
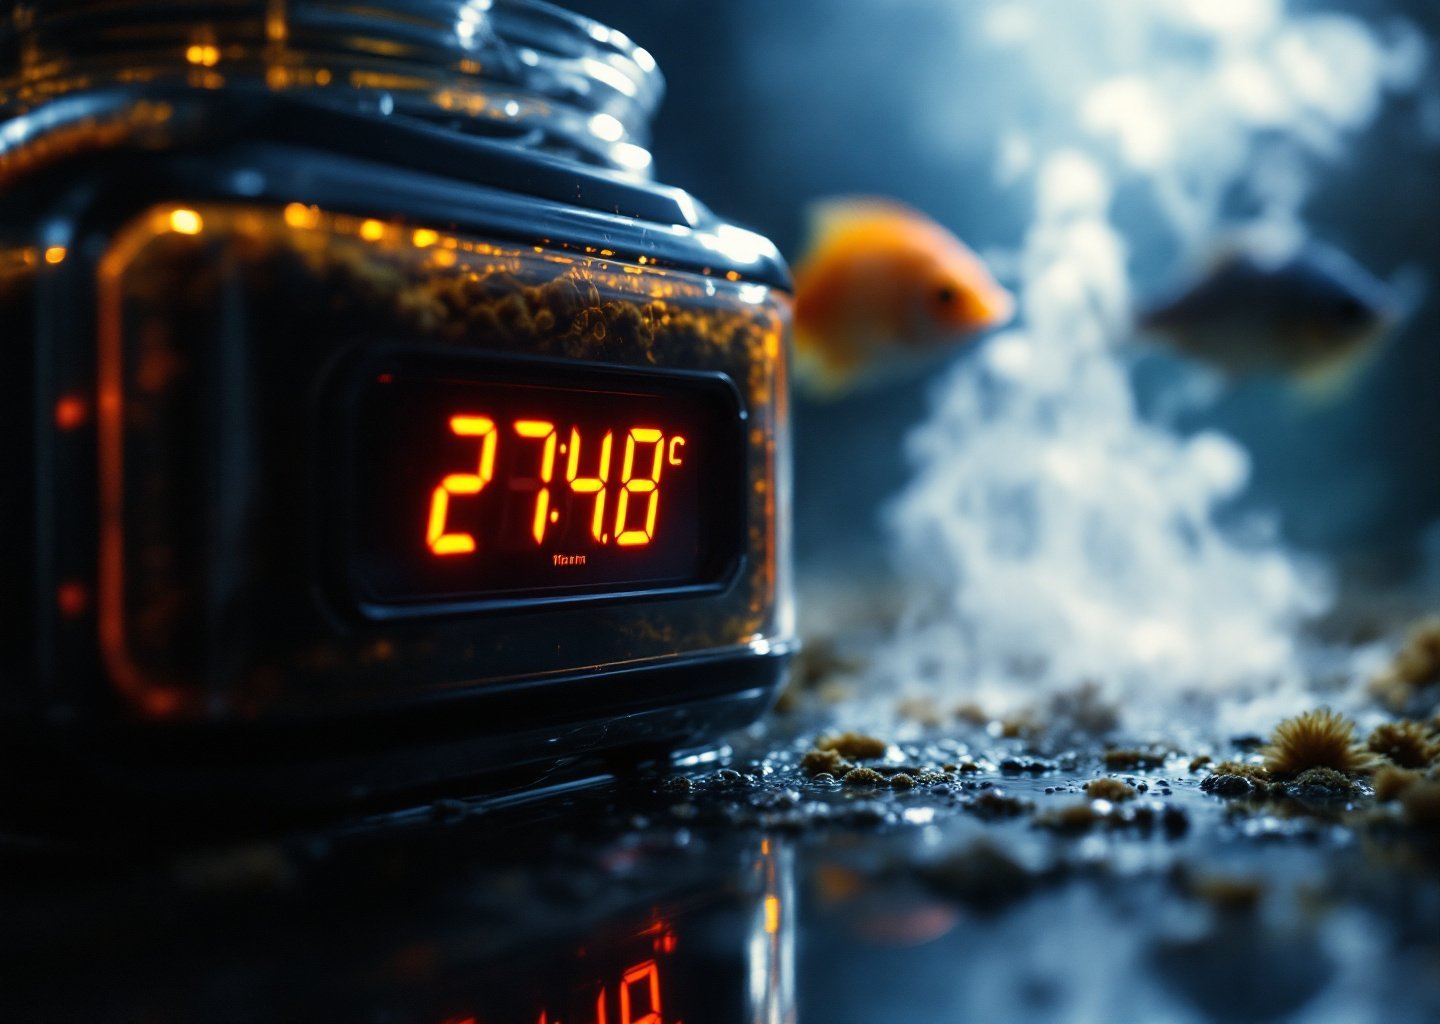
I’ll never forget walking into my apartment to find my 10-gallon tank at 94°F. My ember tetras were gasping at the surface, my carefully cultivated Monte Carlo carpet was melting, and my heart dropped straight through the floor. A stuck thermostat had turned my peaceful nano tank into a fish sauna. That experience taught me something crucial: knowing how to set up an aquarium heater safely isn’t optional. It’s the difference between a thriving tank and a $300 disaster.
Nobody tells you this when you’re standing in the fish store, excited about your new tank: heater setup is probably the most underestimated safety decision you’ll make. We obsess over cycling, stress about water parameters, and research fish compatibility for hours. But the heater? Most of us plug it in, stick it somewhere, and hope for the best.
That approach kills fish. Period.
Four years into this hobby, I’ve watched countless forum posts where hobbyists share their horror stories. Malfunctioning heaters that cooked entire tanks overnight. Improperly placed units that created hot spots and cold zones. Cheap equipment that cracked and released electrical current into the water. These aren’t rare events. They happen all the time.
Good news, though. Every single one of these disasters is preventable. Let me walk you through exactly how to avoid them, using lessons I’ve learned from my own mistakes and years of helping fellow apartment-dwelling hobbyists get their setups right.
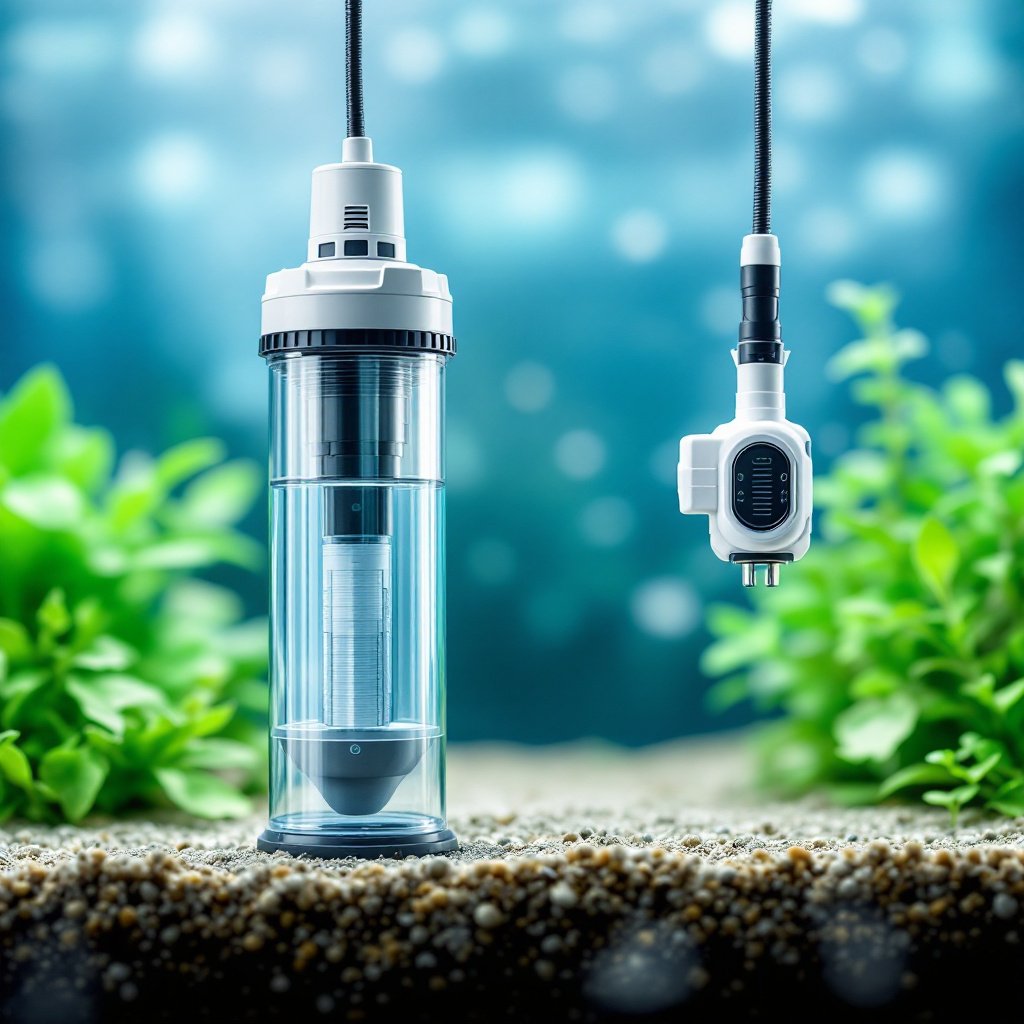
Submersible vs. Hanging Heaters: Which Type Actually Belongs in Your Tank
Before we talk placement, let’s sort out which heater style you should actually be using. Choosing between submersible and hanging aquarium heaters seems simple, but picking wrong can limit your options significantly.
Hanging heaters clip onto the tank rim with only the heating element submerged. They’re cheaper, usually $15–25, and fine for basic setups. But here’s the problem: they’re incredibly limiting. You can’t adjust their depth, they only work with rimmed tanks, and they’re nearly impossible to hide in a planted scape. Water evaporating below the heater element? That’s a fire hazard waiting to happen.
Submersible heaters go fully underwater and give you total control over positioning. They cost more, typically $20–40 for quality brands, but they’re worth every penny. You can place them horizontally, tuck them behind hardscape, and position them near filter outflow for better heat distribution.
My recommendation for beginners? Go submersible. Every time. The flexibility alone is worth the extra cost, and you’ll have fewer safety concerns about water level fluctuations. Eheim Jägers run in most of my tanks, though Fluval and Cobalt also make solid options.
Where to Place Your Heater for Perfect Circulation
Aquarium heater placement in the tank matters more than most people realize. Stick your heater in a dead zone with no water movement, and you’ll end up with a tank that’s 82°F near the heater and 74°F on the opposite end. Fish get stressed. Plants suffer. And you’re left scratching your head wondering why everything looks wrong.
The golden rule: Position your heater near your filter outflow or return pump. Moving water distributes heat evenly throughout the tank. My 20-gallon long has the heater on the back wall about two inches from where my HOB filter dumps water back in. Current carries warm water across the entire tank this way.
Now for the question everyone asks: should the aquarium heater sit horizontal or vertical?
Horizontal is actually better for even heating. Heat rises, so a vertical heater creates a column of warm water shooting upward. A horizontal heater spreads warmth across a wider area. That said, vertical works fine if you’ve got good circulation. Some of my tanks run vertical simply because the aquascape demanded it.
Depth matters too. Keep your heater fully submerged, at least an inch below the minimum water line. Most quality heaters have a minimum water level marked on them. Ignore this at your own risk. When water evaporates below that line, the exposed glass can crack or, worse, overheat and start a fire.
Quick tip for finding the best heater placement: imagine where the warmest and coolest spots would naturally form. Put your heater where water movement will push warmth into those cold zones.
Calculating Wattage Right: Why Generic Rules Fail 20-Gallon Tanks
You’ve probably heard the old rule: 3–5 watts per gallon. Simple, right? Grab a 100-watt heater for your 20-gallon, and you’re set.
Except that rule fails constantly.
Room temperature, tank shape, ambient fluctuations: none of these get factored in. What works for a 20-gallon tank in a cozy 72°F apartment is completely different from what you’d need in a drafty basement that drops to 60°F at night.
My actual approach looks like this:
Step 1: Figure out your temperature differential. How many degrees does your heater need to raise the water above room temperature? A room at 68°F and a betta needing 78°F means a 10-degree lift.
Step 2: Use this rough guide:
– 5 degrees or less: 2.5 watts per gallon
– 10 degrees: 5 watts per gallon
– 15 degrees or more: 10 watts per gallon, or consider two smaller heaters
Step 3: Factor in tank shape. Long, shallow tanks lose heat faster than tall, narrow ones. My 20-gallon long in the living room needs a 100-watt heater, while my 20-gallon tall in the bedroom does fine with 75 watts. Same volume, different requirements.
For tanks 40 gallons and up, running two heaters at half the needed wattage is always my recommendation. One fails? The other keeps things stable while you troubleshoot. And if one gets stuck on, it can’t cook your tank as fast as a single overpowered unit would.
The 5-Minute Calibration Test Every Heater Needs Before Fish Go In
This is the step everyone skips. And honestly? It’s the step that would’ve saved me from that 94°F nightmare.
Here’s the thing: the number on your heater dial is probably wrong. Cheap heaters can be off by 3–5 degrees. Even good ones drift over time. Trust but verify. Always.
How to calibrate your aquarium heater accurately:
- Set up your tank with the heater installed but no fish.
- Set the heater to your target temperature.
- Wait 24–48 hours for the tank to stabilize.
- Check the actual water temperature with a reliable thermometer (not the stick-on strip kind, please).
- Adjust the heater dial up or down based on the difference.
- Wait another 24 hours and check again.
- Repeat until the actual temperature matches your target.
An $8 digital thermometer from Amazon does the job. Those stick-on thermometers that came with my first tank were consistently 2–3 degrees off. Not helpful when you’re trying to keep tropical fish comfortable.
Write down the actual temperature setting that works. My Eheim in the living room is set to “76” on the dial but maintains a perfect 78°F. A piece of tape marks it so I don’t accidentally change it during water changes.
Heater Guards, Hiding Tricks, and Burn Prevention
Once you’ve got your heater calibrated and positioned, you need to think about two things: protecting your fish from burns and making the thing less of an eyesore.
Burn prevention first. Some fish love snuggling up to heaters, especially plecos, loaches, and Corydoras. Long exposure to hot glass can cause burns that lead to infections. A heater guard is a worthwhile investment for protecting fish from burns. They’re plastic cages that snap around the heater. Any tank with bottom-dwellers in my fishroom gets one.
Large cichlids and aggressive fish can also crack heaters during territorial displays. Keeping oscars, Jack Dempseys, or similar bruisers? A guard isn’t optional.
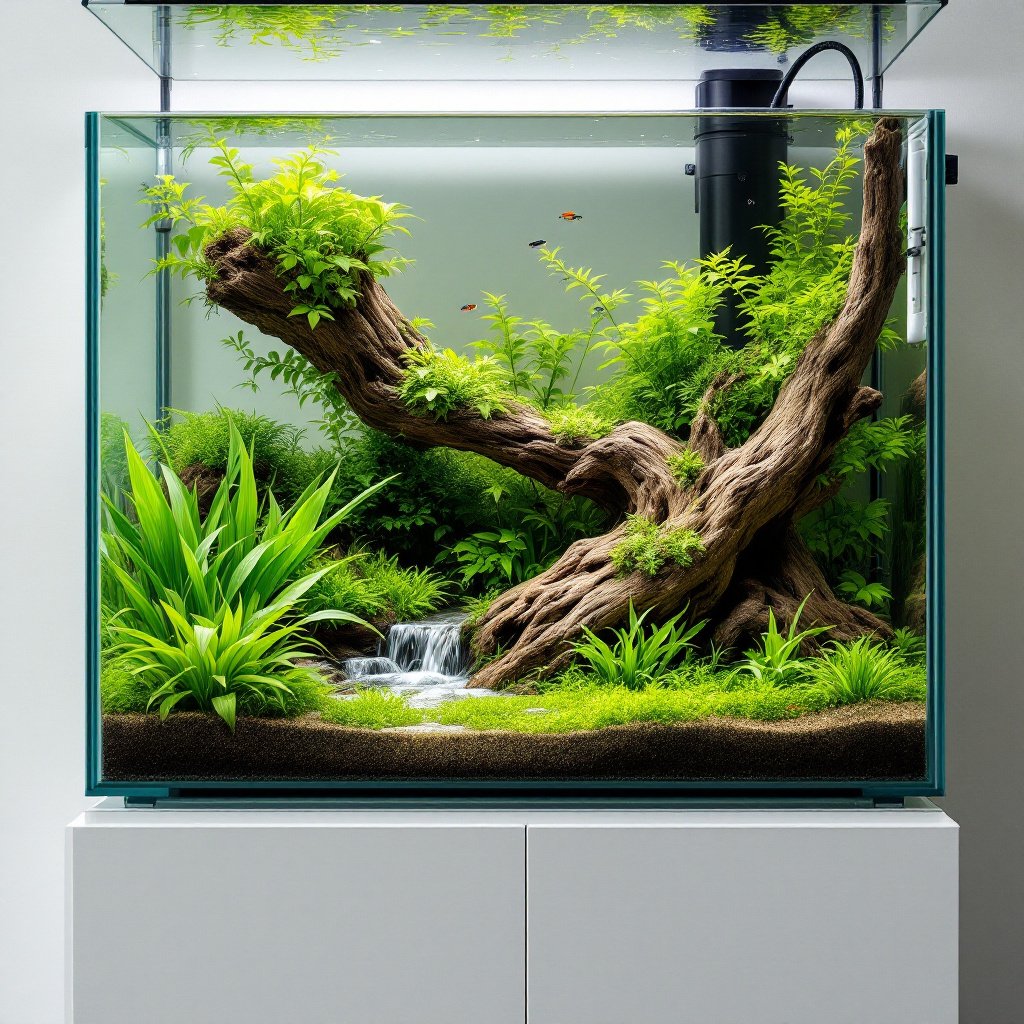
Now for aesthetics. Hiding an aquarium heater in a planted tank is practically an art form. These are my favorite tricks:
- Behind driftwood: Position a branchy piece of wood in front of the heater. It disappears, and you’ve got a natural-looking hardscape feature.
- Inside tall plants: Vallisneria, jungle val, and large Amazon swords work great. Just make sure you don’t block water flow completely.
- In the back corner: Simple but effective. Use background plants to obscure the view.
- Inline heaters: This is the ultimate solution for larger tanks. These install in your canister filter return line and stay completely out of the tank. Expensive but gorgeous.
My heavily planted 12-gallon has the heater tucked behind a piece of manzanita wood with some rotala growing in front. You can only see it from a specific angle. It took some trial and error, but the clean look is worth it.
Troubleshooting Guide: Heater Not Working or Running Too Hot
Even with perfect setup, heaters fail. Here’s your troubleshooting guide for when things go sideways.
Heater not heating at all:
– Check whether the indicator light turns on. No light often means a dead unit.
– Verify the outlet works by plugging in something else.
– Make sure the heater is fully submerged.
– Try adjusting the temperature dial higher, since the thermostat might be off.
– After 24 hours with no improvement, replace the heater.
Heater running too hot:
– Unplug immediately when the temperature exceeds 85°F.
– Float bags of ice or frozen water bottles in the tank for emergency cooling.
– Check whether the thermostat is stuck. The dial should click when adjusted.
– Inspect for visible damage or corrosion on the unit.
– Replace immediately. Stuck-on heaters rarely fix themselves.
Temperature fluctuations throughout the day:
– Usually a circulation problem, not a heater problem.
– Add a small powerhead or adjust filter output direction.
– Consider relocating the heater closer to water movement.
– Check whether room temperature swings significantly, especially near windows or HVAC vents.
These safety tips prevent overheating disasters when you catch problems early. Every morning while feeding, I check my tank temperatures. It takes three seconds and has saved me from at least two near-misses.
When to replace your heater: Replace immediately when you see any cracks, discoloration, or erratic behavior. Don’t wait for complete failure. My oldest Eheim is going on seven years now, and many quality heaters last 5–10 years or longer with proper care. But a $30 replacement heater is always cheaper than restocking a tank. Inspect your heater regularly and replace it when it shows signs of wear or malfunction rather than on a fixed schedule.
Pre-Fish Safety Checklist
Before any fish goes into your tank, run through this checklist:
- [ ] Submersible heater properly positioned near water flow
- [ ] Correct wattage calculated for your room temperature differential
- [ ] Heater fully submerged with proper orientation
- [ ] 48-hour calibration test completed with accurate thermometer
- [ ] Heater guard installed if keeping bottom-dwellers or aggressive fish
- [ ] Backup thermometer in place for ongoing monitoring
Learning how to set up an aquarium heater safely takes maybe an hour of extra effort upfront. That hour protects months or years of fishkeeping joy.
One final note for my fellow betta keepers: yes, your betta needs a heater. I’ve seen the debates. I’ve heard the arguments about room temperature being “fine.” But unless your house stays at a rock-solid 78°F year-round, your betta is stressed. A small 25-watt adjustable heater costs $15 and makes an enormous difference in color, activity, and lifespan. Gerald deserved better than my uncycled, unheated desk bowl. Your betta does too.
Now go check your heater placement. I’ll wait.