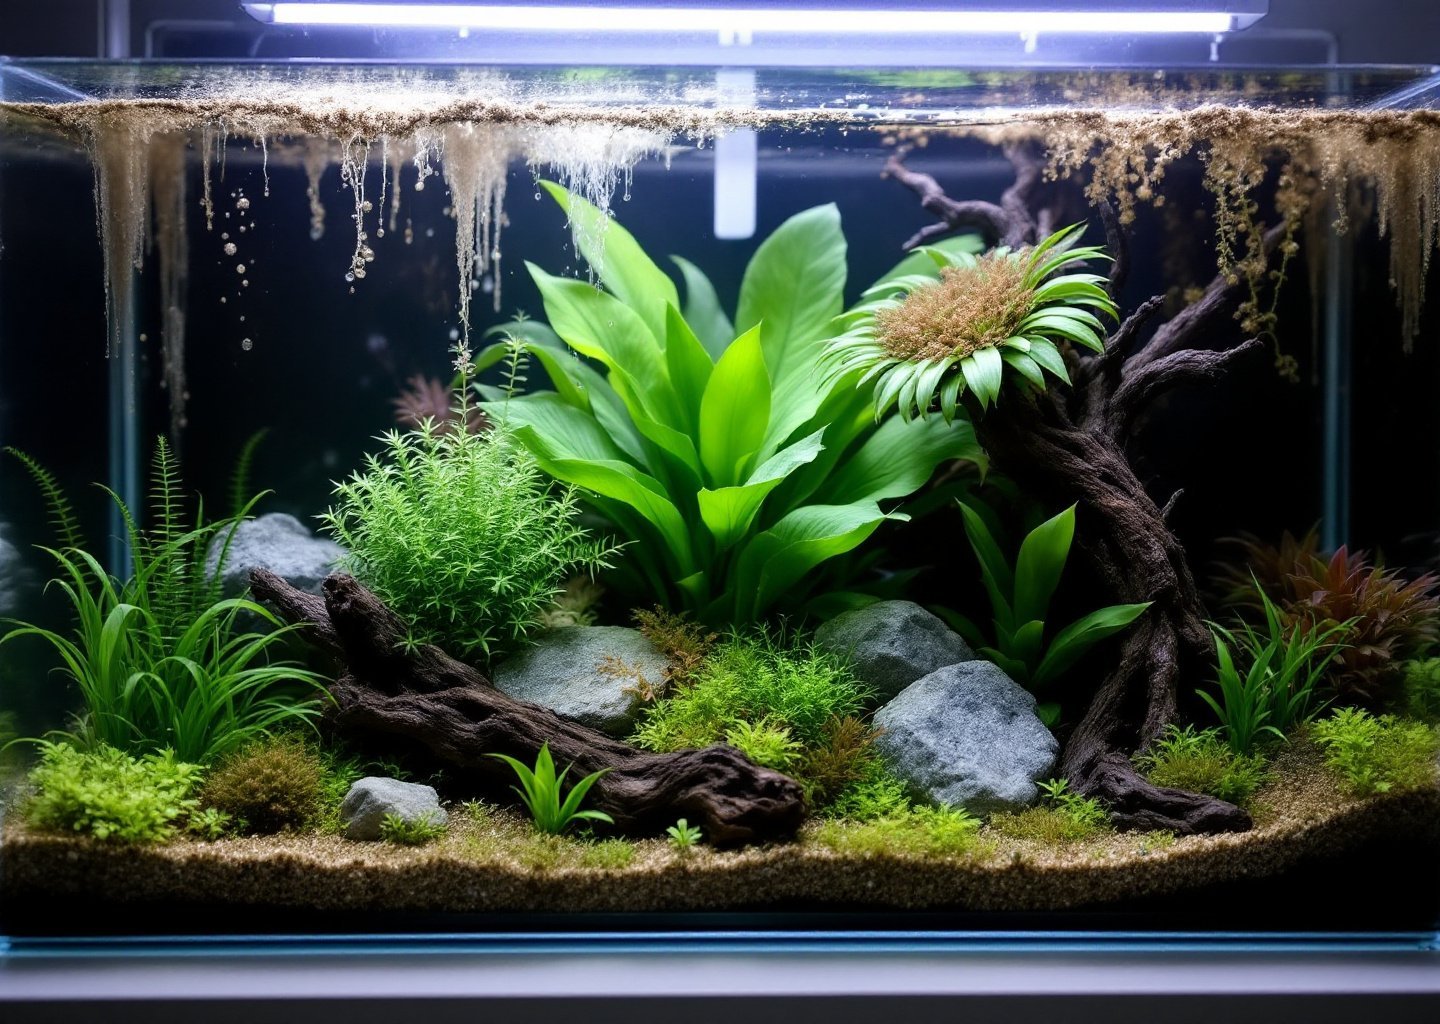
The Planted Tank That Almost Broke Me (And How Yours Won’t)
Let me tell you about the planted tank that almost broke me. I followed a YouTube tutorial, bought everything on the list, and expected a lush underwater forest within two weeks. What I got instead? Brown algae coating every surface. Plants melting into sad little stumps. And the creeping suspicion that I’d wasted $300 on an ugly glass box.
That tank is now thriving. It just took me understanding what those polished tutorials never mention: the ugly middle weeks where everything looks terrible before it looks amazing.
Most planted tank tutorials lie by omission. They show you the stunning “after” shots and gloss over the messy reality of getting there. When your tank doesn’t look Instagram-ready in week two, you assume you’ve failed. You haven’t. You’re just in the awkward teenage phase that nobody warned you about.
What follows is a week-by-week breakdown of how to set up a 20-gallon planted tank, including all the phases that make you want to quit. I’m giving you the realistic timeline because knowing what’s coming makes pushing through so much easier.
Why 20 gallons? It’s the sweet spot for planted tank beginners. Big enough to maintain stable water parameters, small enough to manage on a budget, and fits in most apartments. Trust me, I’ve got seven tanks crammed into my Portland apartment, and my 20-gallon long remains my favorite to work with.
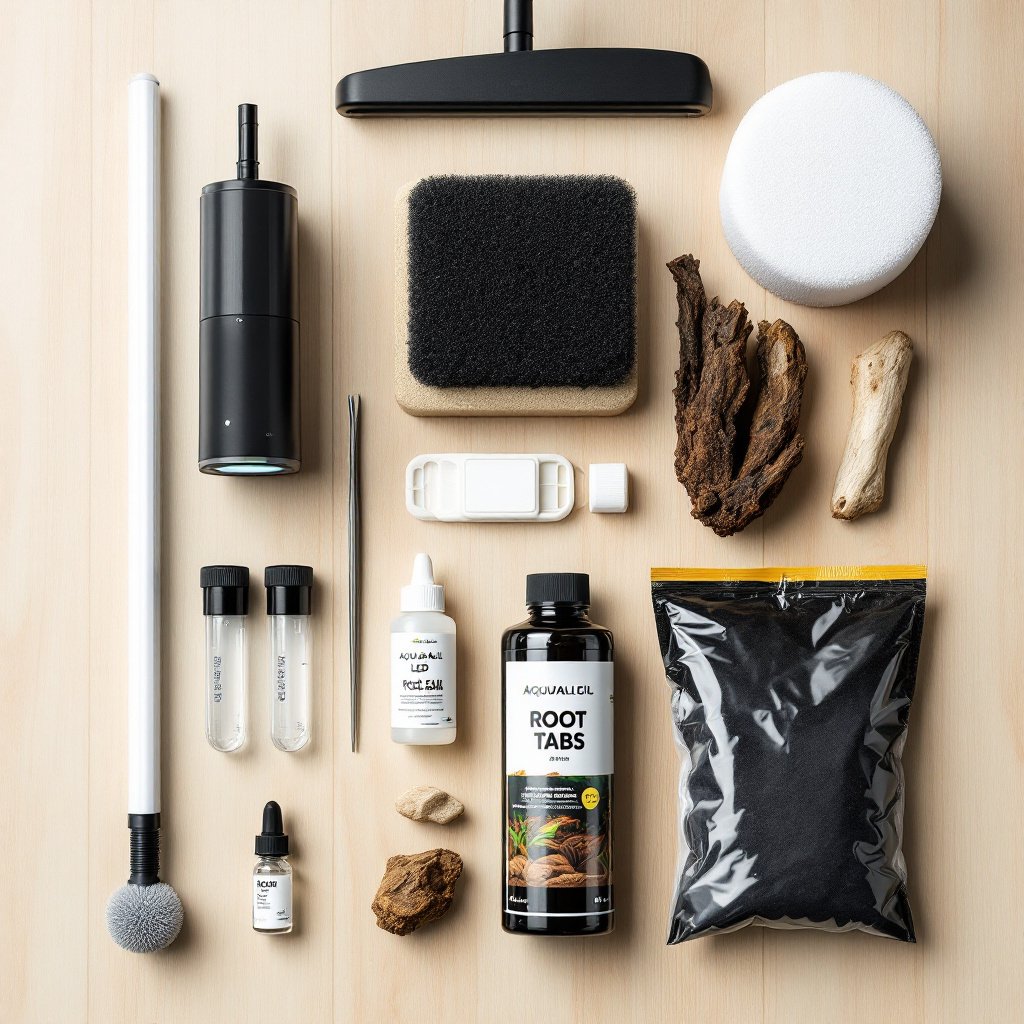
Week 0: The Complete 20-Gallon Equipment Checklist
Before you touch anything, let’s talk money. I’ve seen “budget” planted tank lists that somehow total $600. My honest 20-gallon planted tank equipment list breaks into three tiers.
The Bare Minimum (Around $150 to $200):
– 20-gallon tank (ideally a 20 long for better planting area)
– Basic adjustable LED light (Nicrew or similar)
– Sponge filter or hang-on-back filter
– Inert substrate like pool filter sand or gravel
– Root tabs for plant nutrition
– Water conditioner and test kit
The Comfortable Middle Ground ($250 to $350):
Everything above, plus:
– Planted tank substrate (Fluval Stratum, UNS Controsoil, or similar)
– Better lighting with built-in timer
– Liquid fertilizer
– Basic hardscape (rocks and driftwood)
The “I’m Committed” Setup ($400 to $500):
All of the above, plus:
– CO2 system for 20-gallon planted aquarium (or a DIY citric acid setup)
– Inline or canister filter
– Premium lighting like a Fluval Plant 3.0
My advice? Start with the middle tier. Substrate makes the biggest difference for long-term success, and you can always add CO2 later. best aquarium substrates for planted tanks
Week 1: Substrate Setup and Hardscape
My graphic design background actually comes in handy here. A 20-gallon planted tank substrate setup isn’t just about nutrition. It’s about creating depth and visual flow.
Days 1–2: Substrate and Hardscape
Slope your substrate from back to front. I’m talking 3 to 4 inches in the back, down to about 1.5 inches in front. This gradient gives you the illusion of depth and provides tall background plants room to root.
For hardscape placement, use the rule of thirds. Never center your main rock or driftwood. Place it roughly one-third from either side. Stand back, squint at your tank, and trust your gut. Does it feel balanced? Good.
Nobody mentions this, but soak your driftwood for at least a week before adding it. Better yet, boil it. Otherwise, you’ll have tannin-stained water that looks like weak tea. Some people like this look. I personally prefer being able to see my plants.
Days 3–4: Fill and Let It Settle
Fill your tank slowly using a plate or bowl to diffuse the water flow. Your carefully sloped substrate will stay put this way. Run your filter, turn everything on, and let the tank settle for a day or two before planting. It’s not strictly necessary, but murky water makes planting frustrating.
Weeks 1–2: Planting Day Strategy and Your First Lighting Schedule
Planting day is exciting. It’s also where most beginners make their biggest mistakes.
Choosing Your Plants
Forget the fancy tissue culture plants for your first tank. What you want are established, proven survivors. Best plants for 20-gallon aquarium beginners include:
- Java fern (attach to hardscape, never bury the rhizome)
- Anubias varieties (same deal, rhizome stays exposed)
- Cryptocoryne species (they’ll melt, but they’ll come back)
- Amazon sword (one per tank is plenty because they get huge)
- Water wisteria (grows like a weed, absorbs excess nutrients)
- Dwarf sagittaria (creates that grassy carpet look without being difficult)
These beginner-friendly aquarium plants grow fast enough to outcompete algae and forgive your rookie mistakes.
The Planting Process
Work back to front. Tall plants against the back glass, medium plants in the middle, carpeting or foreground plants up front. Use tweezers. Seriously. Your fingers are too clumsy for this work, and you’ll uproot plants constantly without proper tools.
Your First Lighting Schedule
This is where people mess up. Excitement kicks in, so the lights run for 10 hours because more light equals more growth, right? Wrong. More light equals more algae, at least initially.
Start with 6 hours daily. That’s it. After a month, once plants are established and actively growing, bump it to 8 hours. Set a timer and forget about it. Consistency matters more than duration.
Get your lighting schedule wrong on a 20-gallon planted tank and algae takes over before your plants have a chance. planted tank lighting guide
Weeks 2–4: Surviving the Ugly Phase
Welcome to the part every guide skips. Things are about to look terrible, and that’s completely normal.
Week 2: The Melt Begins
Those beautiful cryptocoryne plants? They’re going to turn to mush. Resist the urge to rip them out. Roots are fine, and new leaves will emerge once they’ve adjusted to your water parameters. I’ve panic-thrown away so many crypts, and every single one would have recovered.
Stem plants might drop their lower leaves. Java fern might develop brown spots. This is transplant shock, not death.
Week 3: Algae Arrives
Brown diatom algae will coat everything: glass, plants, carefully arranged rocks. Every new tank goes through this because diatoms thrive on the silicates released from new substrates and hardscape.
No need to panic. No need to add chemicals. No need to scrub everything obsessively. Just wait it out and do your regular water changes. It subsides on its own as the tank matures, usually within 2 to 3 weeks.
If you’re doing an easy low-tech planted tank setup without CO2, this phase might last a bit longer. Patience is the skill nobody tells you planted tanks require.
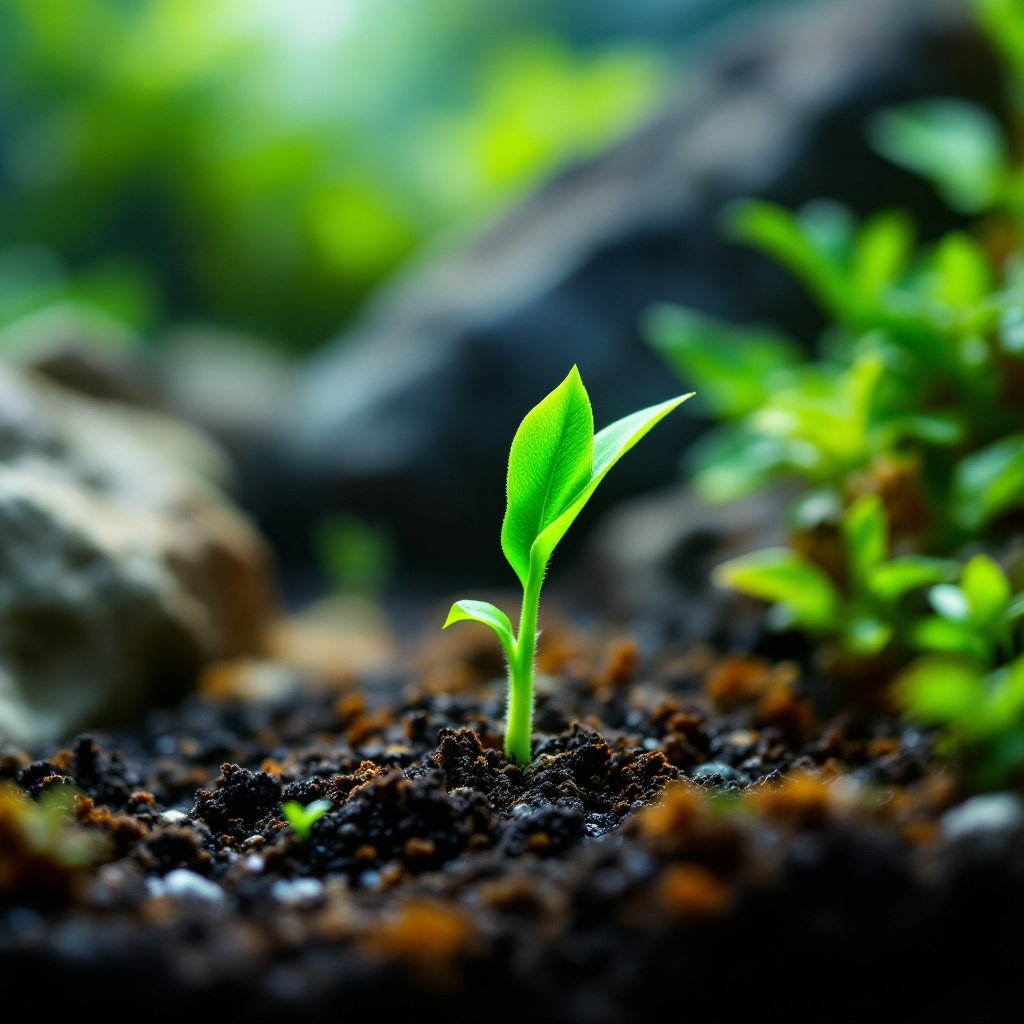
Week 4: Signs of Life
New growth appears. Crypts push out small new leaves. Stem plants start reaching toward the light. Diatoms fade. Finally, you can exhale.
Now is when you should start your actual fertilizer routine if you haven’t already. Light doses of liquid fertilizer twice weekly work well for most planted tank approaches without CO2 injection.
Weeks 4–6: Cycling Complete and Adding Your First Fish
You’ve been testing your water, right? Ammonia and nitrite should read zero, with some nitrate present. Once that happens, your beneficial bacteria colony is established and your tank can handle livestock.
Choosing Your First Fish
Adding everything at once is a recipe for disaster. Start with a hardy cleanup crew:
– 6 to 8 otocinclus catfish (algae-eating machines)
– A small school of 6 to 10 ember tetras or celestial pearl danios
– Or a single betta if you want a centerpiece fish
Wait two weeks before adding more. Watch for any signs of stress or disease. Test your water after adding fish, since ammonia might spike briefly.
A solid planted tank filter setup matters here. Make sure you’ve got adequate filtration, roughly 4 to 5 times your tank volume per hour. So for your 20-gallon, that’s 80 to 100 gallons per hour. A hang-on-back filter rated for 30 gallons works perfectly on a 20-gallon tank.
Stocking Considerations
Plants provide hiding spots and break up sight lines, which means you can stock slightly more generously than a bare tank. But going crazy will backfire. For a 20-gallon tank, think:
– One centerpiece fish or pair (betta, dwarf gourami, or ram cichlids)
– One school of 10 to 12 small tetras or rasboras
– 6 to 8 bottom dwellers (corydoras or otocinclus)
– Optional snails or shrimp
stocking ideas for planted tanks
Months 2–3 and Beyond: Building Your Maintenance Routine
At this point, you’ve learned how to set up a 20-gallon planted tank through the hardest weeks. Now you need a sustainable maintenance routine.
Weekly (15–20 minutes):
– 25% water change
– Glass cleaning
– Remove dead leaves
– Dose fertilizer
Monthly (30–45 minutes):
– Trim overgrown plants
– Replant cuttings or share with other hobbyists
– Check filter media
– Test water parameters
Every 3 Months:
– Deep clean filter
– Replace root tabs if using inert substrate
– Evaluate lighting duration and adjust if needed
By month three, you’ll know your tank’s personality. Early algae warning signs will become obvious. Understanding which plants thrive in your water and which ones struggle becomes second nature.
And you’ll probably start thinking about that second tank. I’m not going to stop you. But maybe don’t tell your partner I encouraged it.
Honestly? Substrate choices, plant selection, lighting schedules: none of it matters if you give up during week three because nobody warned you about the ugly phase. Now you know. Push through it. The lush planted tank on the other side is worth every frustrating moment.