Losing a brand-new fish within 48 hours hits harder than most people admit. You spend time picking the perfect one, float the bag like the internet told you, release it with high hopes, then find it plastered to the filter intake the next morning. When I first entered the hobby, I thought this was just part of the deal. Bad luck. Weak fish. A hobby filled with heartbreak.
Turns out, it was mostly me. And specifically, it was me rushing the acclimation process. If you’re trying to learn how to acclimate new fish to your tank without repeating my early disasters, you’re already ahead of where I was.
Most new fish deaths come down to one thing: shock. Not the dramatic Hollywood kind, but a quiet, invisible kind that happens when a fish suddenly goes from one set of water parameters to a totally different one. Temperature. pH. TDS. Even oxygen levels.
You rarely see the damage instantly. It shows up later as gasping, frantic swimming, or the dreaded sideways hover in the corner. And by then, it’s usually too late.
In this article, I’m walking you through what actually happens during shock, how long to float a fish bag before release, why drip acclimation feels like a miracle fix, and the step-by-step drip acclimation tutorial I wish someone had slapped into my hands before poor Gerald the betta met his fate.
The Heartbreaking Pattern of Fish Death Within 48 Hours and Why It’s Not Bad Luck
Every beginner hits the same wall. The fish looks fine at the store. The water in your tank looks clear. You did everything the employee said.
Then the crash happens.
And once you see the pattern repeat, the big question shows up: why do new fish die in my tank even though everything looks fine?
Because clarity isn’t stability. A fish cares far more about parameter shifts than you think. A one-degree temp drop feels like a slap. A pH swing is like trying to breathe different air.
Stores keep their tanks bare-bones with light stocking and tons of turnover, and your home tank probably doesn’t match that. That mismatch alone can be lethal.
The Silent Killer: What Actually Happens During Temperature and pH Shock
Here’s the thing that surprised me most: fish are fantastic at hiding stress. By the time you actually see stress signs, the internal damage has already begun.
Temperature shock fish symptoms and prevention come down to understanding what happens inside their bodies:
– Rapid breathing because the gill membranes struggle to function
– Muscles tightening, which shows up as erratic darting
– Color dropping as stress hormones spike
– Loss of balance from osmotic pressure swinging too fast
And when pH changes suddenly, the gill tissue takes the hit first. That affects the fish’s ability to regulate salts. Once that balance gets thrown off, organs follow.
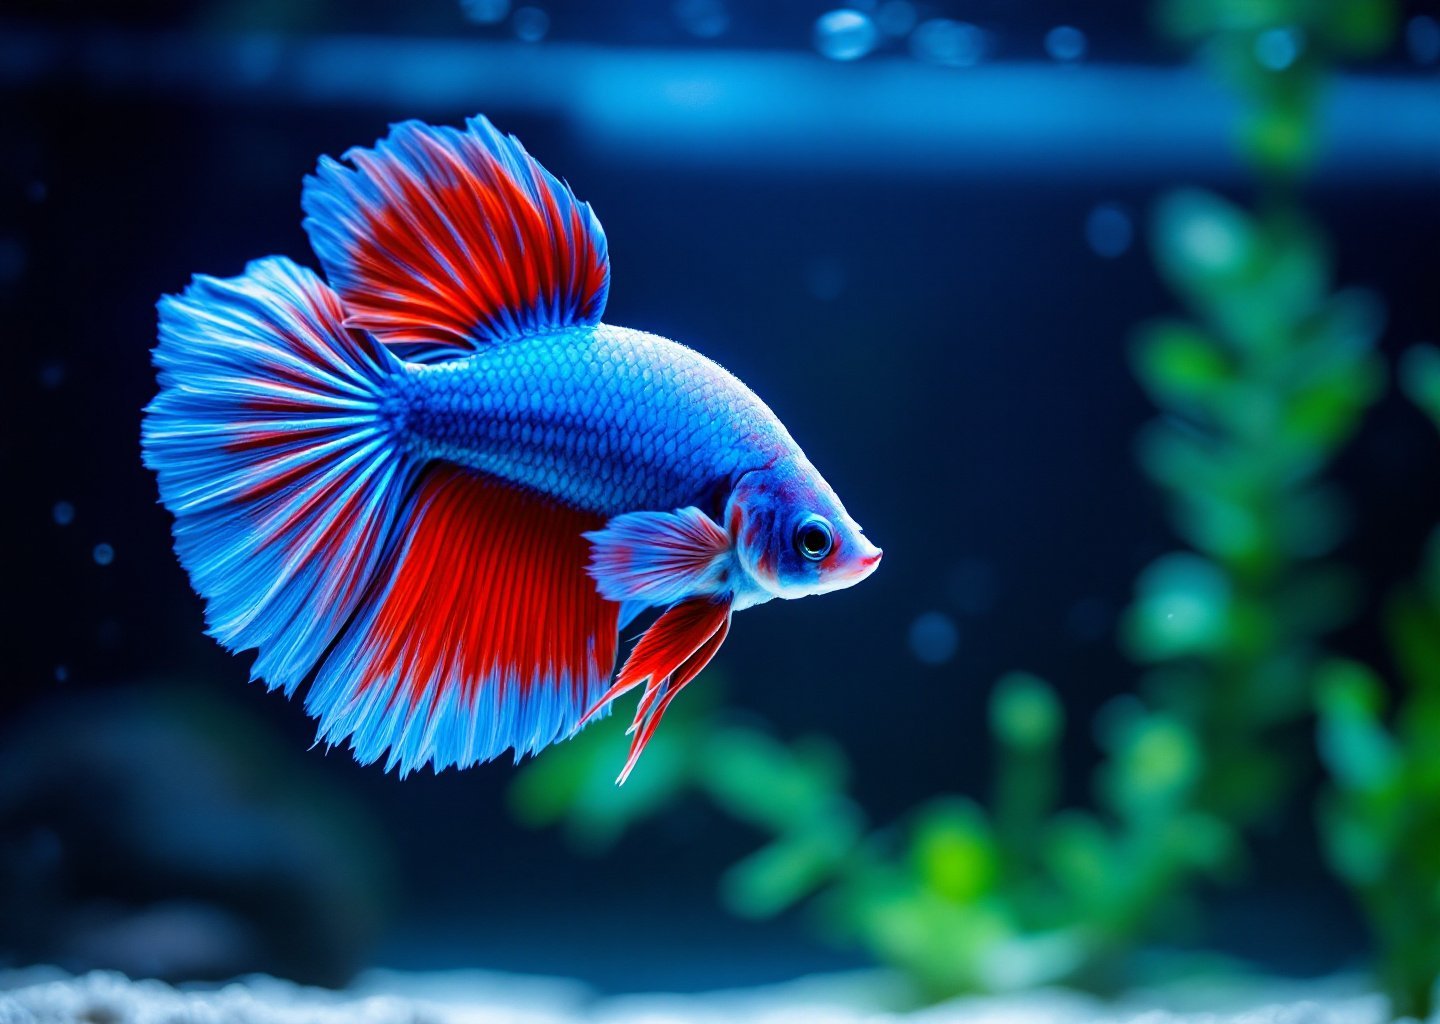
I wish someone had told me that before I proudly dumped Gerald straight from his pet store cup into my uncycled tank. I cringe even writing that sentence.
Float Method vs. Drip Acclimation: Why One Saves Fish and One Gambles with Them
People love to argue about this part, but here’s my take after years of trial, error, and a few fish funerals.
The float method feels easy. Bags look cute bobbing at the surface. You match temperature, wait ten minutes, snip, dump.
But it primarily equalizes temperature. It doesn’t effectively match pH, hardness, TDS, or dissolved oxygen.
The drip acclimation method for sensitive fish solves all that by letting your tank water slowly replace the store water at a controlled rate. You end up matching everything that matters, not just the temp.
So when people ask for a drip acclimation vs. float method comparison, I usually say this: floating is a coin toss. Drip acclimation is insurance.
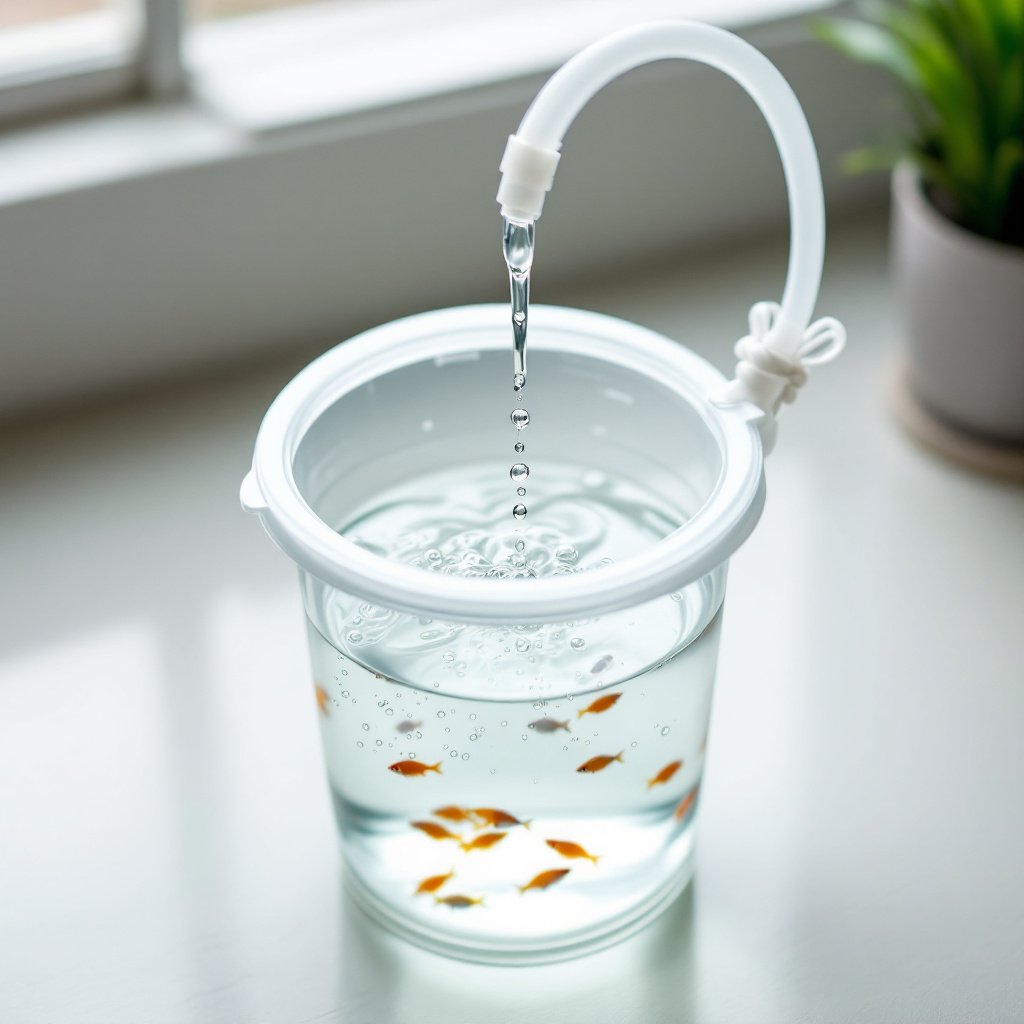
Step-by-Step Drip Acclimation Tutorial with Household Items You Already Own
If you’ve got a leftover length of airline tubing, a bucket, and gravity, you can drip acclimate like a pro. Here’s the simple step-by-step drip acclimation tutorial I use for almost every fish.
- Place the fish, in its bag water, into a clean bowl or container.
- Run a piece of airline tubing from your tank to that bowl.
- Tie a loose knot in the tubing or use a cheap valve. This controls the drip rate.
- Start a siphon. If you have to give it a quick mouth pull, welcome to the club.
- Adjust the drip to one to two drips per second.
- Let it run for thirty to sixty minutes, depending on how different the parameters are.
- Once the bowl volume doubles or triples, catch the fish with a net and add it to the tank.
A lot of people ask how to match tank water parameters before adding fish. The answer is simple: you let the tank water slowly take over until the fish is living in your tank water before the transfer even happens.
If you only remember one part of this article, let it be this technique.
The 5 Stress Signals New Fish Show Before It’s Too Late
I always look for the early signals right after adding new livestock. They basically whisper that something’s off.
Here are the signs of stress in new aquarium fish:
– Gasping at the surface a few minutes after release
– Sinking to the bottom and refusing to move
– Pinched fins
– Frantic glass surfing
– Color fading within the first hour
If you see these, the fish isn’t adjusting well. A gentle, gradual acclimation gives you a much better chance to avoid that downward slide.
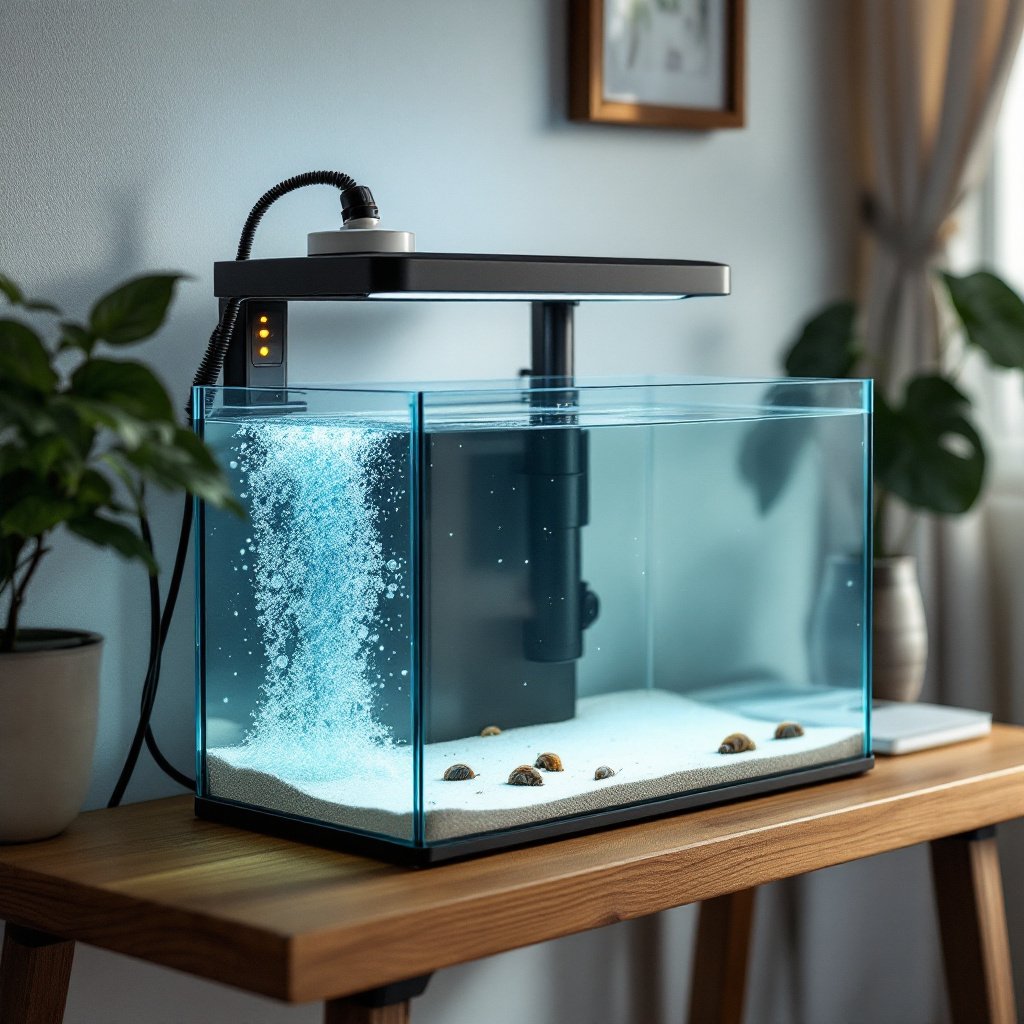
The Quarantine Tank Shortcut: 10 Gallons That Save Heartache and Money
I used to think quarantine tanks were only for advanced aquarists. People with garages. Space. Budgets.
Then I realized a quarantine tank setup for new fish can be a ten-gallon tub hidden under a desk.
A simple QT has:
– A small sponge filter
– A heater
– A cheap lid
– A bottle of bacteria
– The best water conditioner for adding new fish you can afford
That tiny setup gives you a controlled environment. No big swings. No established fish picking on the new ones. And no spreading sickness into your main tank if the store fish brings something home.
I keep mine running all the time now with a couple of ramshorn snails. They keep the cycle alive until I need it.
Acclimation Mistakes I Made So You Don’t Have To
Mistake one: Assuming all store water is the same.
When I moved to Portland, I bought fish from three different shops. Every one of them had wildly different pH levels. My poor rasboras paid for that lesson.
Mistake two: Rushing because the fish looked stressed in the bag.
I thought I was helping by releasing them quickly. In reality, I was giving them shock on top of stress.
Mistake three: Trusting the float method for delicate species.
My first attempt at dwarf shrimp was a disaster. If you want proof that the drip acclimation method for sensitive fish isn’t optional, try skipping it with shrimp. Actually, don’t. I already did it for you.
Mistake four: Adding the bag water to my tank.
Just no. That’s store system water filled with who knows what.
Every one of these mistakes taught me something that I use now whenever someone asks how to acclimate new fish to your tank without losing them.
Here’s your quick checklist:
– Temperature matched through floating
– Gradual parameter match through dripping
– No bag water added to the tank
– Observation for stress signals
– Quarantine if possible
– Slow lights, low noise, no feeding for the first twenty-four hours
You’ll know they’ve settled when they explore, breathe calmly, and show normal posture. That moment always feels like a small victory, especially if you’ve lost fish before.
If you want a deeper guide on cycling or tank setups, check out nitrogen cycle basics, beginner-friendly nano tank setups, or affordable quarantine tank build.
And remember, a proper drip acclimation setup can save you from the heartbreak so many beginners think is unavoidable. Once you learn how to acclimate new fish to your tank the right way, everything gets easier.