
How to Set Up a Sponge Filter Without Launching It Across Your Tank
My very first sponge filter air pump setup was supposed to be a quick win. You know, plug it in, plop it in, instant filtration. Instead, I watched my tiny sponge filter shoot across my betta tank like a torpedo. It slammed into the glass, puffed out a sad cloud of mulm, and scared my fish half to death. That moment taught me something important: setting up a sponge filter isn’t as foolproof as people on forums like to pretend.
If you want to know how to set up a sponge filter correctly without repeating my greatest hits of embarrassment, you’re in the right place. I went from blasting Gerald the betta with way too much airflow to calmly tuning sponge filter bubbles that are gentle enough for shrimp fry. What follows mixes practical steps with messy mistakes from my early days, because sometimes the wrong way teaches you faster than the right one.
What You Actually Need: The Gear I Wish I’d Bought First
Classic beginner move right here: assuming any air pump would magically handle any sponge filter. It doesn’t work like that.
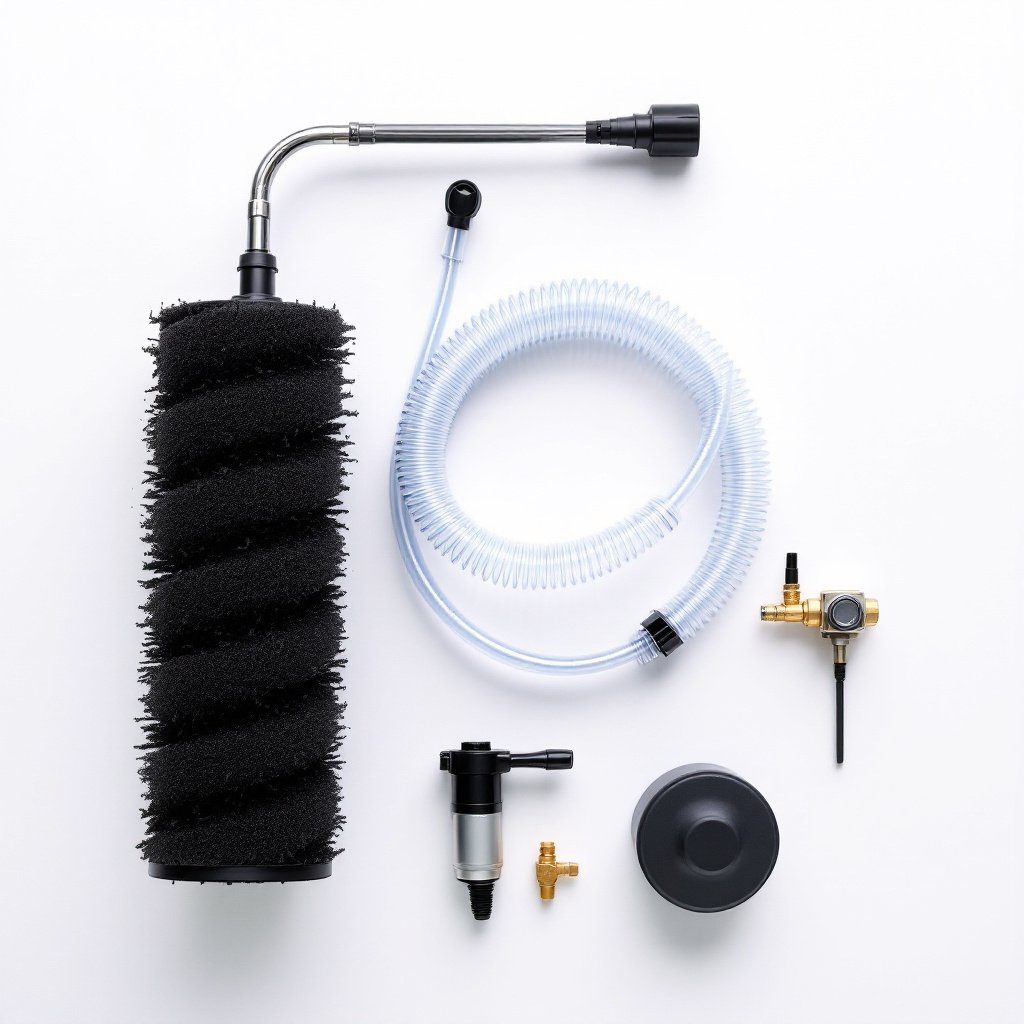
Here’s the gear that keeps things simple and clean:
Air Pump Sizing
Choosing the best air pump for sponge filter aquarium setups depends on tank size and depth. In my experience:
- Up to 10 gallons: a single-outlet pump rated for nano tanks
- 10 to 20 gallons: a medium pump with better pressure
- 20 gallons and up: dual-outlet pumps or a pump with stronger back pressure
My 29-gallon tank taught me this lesson the hard way. The pump just wasn’t strong enough to push air down that far, and the tank acted like it was ignoring the air pump completely.
Tubing Length
People underestimate tubing. I used to buy the shortest possible section because clutter annoyed me, but shorter tubing means the pump has to sit dangerously close to the tank. Now I use at least 3 to 4 feet so the pump can sit on a shelf above water level.
Check Valves
A sponge filter check valve installation takes 10 seconds and saves you from a flooded floor. When I skipped one the first time, I woke up to a puddle and the realization that water backflow isn’t a myth.
Optional but Worth It: Gang Valve
Most beginners skip the gang valve for sponge filter control. I skipped it too, and instead tried to pinch my airline tubing with a binder clip. Please don’t follow my example. A gang valve lets you fine-tune airflow and prevents the classic “sponge filter bubbles too strong” problem.
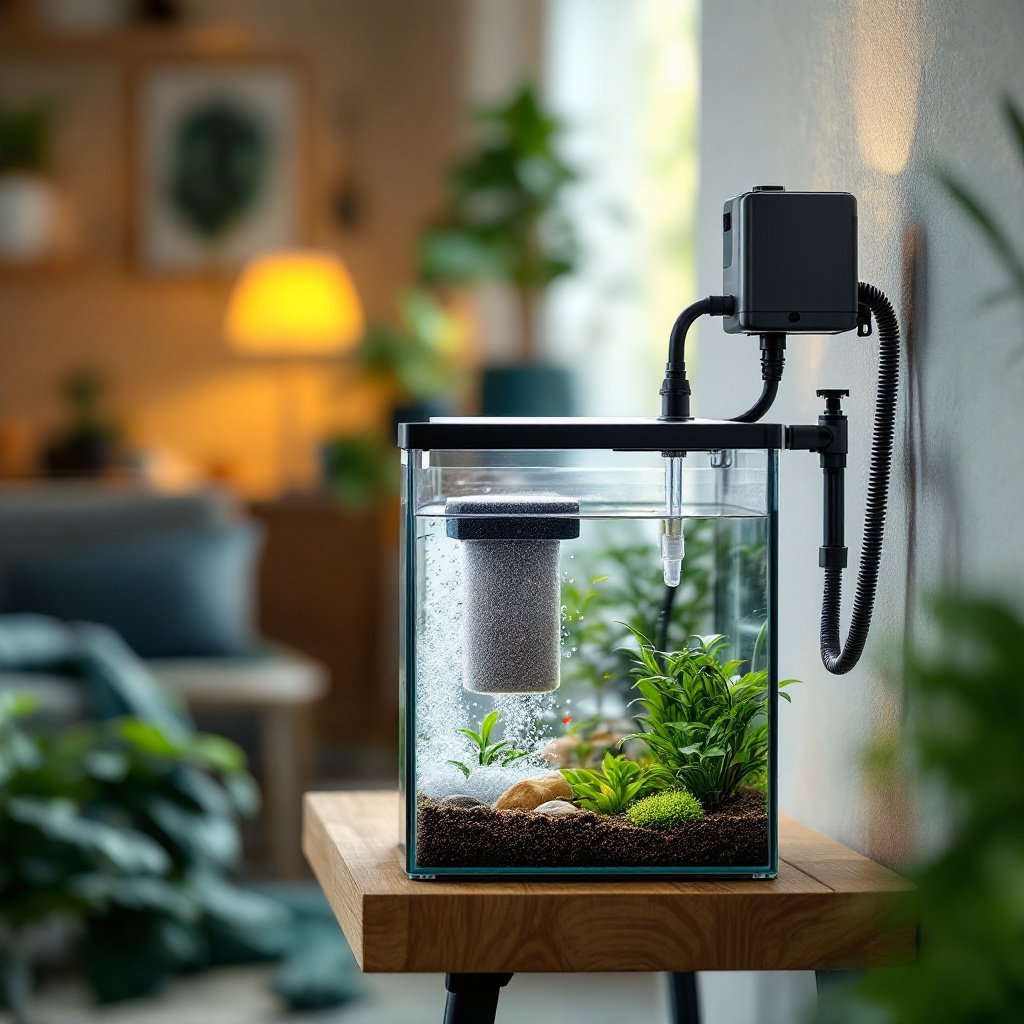
Step-by-Step Sponge Filter Installation: From Unboxing to First Bubbles
Here’s how I walk through a step-by-step sponge filter installation these days, now that seven nano tanks and a lot more common sense are under my belt.
1. Rinse Your Sponge, but Not with Soap
Squeeze the sponge under tap water until it stops releasing dust. Don’t worry about chlorine at this stage because there’s no bacteria in it yet.
2. Assemble the Uplift Tube
Some models click together; others slide. If you’re following a double sponge filter installation tutorial, make sure both sides sit evenly or the whole thing tips once you place it in the tank.
3. Attach Tubing to the Air Stone or Inlet
Push firmly. You want a snug seal so you don’t lose pressure.
4. Place the Sponge Filter in the Tank
People ask how deep to place a sponge filter in tank setups. My general rule: keep the sponge fully submerged and the uplift tube a couple of inches below the surface. Deeper placement means you’ll need a stronger pump.
5. Anchor the Sponge Filter
Remember the torpedo fiasco? This was the part I messed up so badly. If your sponge filter floats or drifts:
- Bury the base slightly into the substrate
- Add a small lava rock inside the hollow cavity
- Use plant hardscape to wedge it discreetly
- Use a suction cup model if you’re short on space
Figuring out how to anchor a sponge filter in tank setups is the difference between a calm flow and your betta playing dodgeball.
6. Connect the Check Valve and Gang Valve
Position the check valve with the arrow pointing toward the tank. Put the gang valve on the pump side so you can adjust flow without reaching behind the aquarium.
7. Turn On the Pump
You should see a steady column of bubbles. If not, we’ll fix that in the troubleshooting section.
When Your Betta Gets Blown Around: The Bubble Problem
My second betta, Mossball, got so annoyed at the airflow that he built his bubble nest behind the heater. It was the one spot without turbulence. That’s when I learned how to reduce sponge filter bubble flow without butchering my tubing.
So what actually works?
Use the Gang Valve
Precise control is what this gives you. Adjust it until the bubbles look like a soft shimmer, not a jacuzzi.
Air Pump Control Dial
Some pumps have a little wheel or slider. It’s handy, but gang valves offer way finer tuning.
Never Kink Your Airline Tubing
I did this once because I didn’t want to drive back to the store for a gang valve. It caused back pressure, made the pump rattle, and eventually cracked the airline.
If you’re doing a sponge filter for betta fish tank setup, aim for gentle bubbling. Bettas prefer calmer water, and their fins act like little sails.
Troubleshooting: Quick Fixes for a Sponge Filter That Isn’t Working
If your sponge filter isn’t bubbling, don’t panic. Most problems take less than five minutes to solve.
Weak or No Bubbles Coming Out
Check these:
- Tubing loose at the air stone
- Check valve installed backward
- Air pump too weak for tank depth
- Airline kinked behind the tank
- Air stone clogged or worn out
Sponge Filter Tilting or Floating
Try:
- Pushing the base deeper into the substrate
- Adding a small rock to weigh it down
- Shortening the uplift tube so it’s less top-heavy
Loud Rattling Pump
Back pressure is usually the culprit here. Open the gang valve slightly or make sure nothing’s blocking airflow.
Only One Side of a Double Sponge Filter Working
One sponge is probably more clogged than the other. Rotating them during cleaning helps them clog evenly.
Sponge Filter vs. Hang-On-Back: What I Actually Use for Which Tank
People love asking me whether sponge filters are better than HOBs. Honestly? It depends on what you’re keeping.
When I Choose Sponge Filters
- Betta tanks
- Shrimp tanks
- Nano tanks under 10 gallons
- Tanks where I want to hide the filter behind plants for a clean aesthetic
Sponge filters create a softer flow and are way easier on delicate fish. They also double as biofilm farms, which shrimp absolutely love.
When I Choose HOB Filters
- Heavier-stocked tanks
- Tanks where I run chemical media
- When I want mechanical filtration that traps fine debris
In my 20-gallon long planted scape, both are running. The HOB polishes the water, and the sponge filter handles the stable bacterial load.
If you’re creating a simple beginner tank, sponge filters are more forgiving. Cheap, quiet, and easy to maintain. They’re also perfect in smaller apartments, something I have plenty of experience with.
Your 24-Hour Checklist
After setting everything up, I go through a quick list at the 24-hour mark:
- Bubbles are steady and soft
- Pump is running without rattling
- Sponge stays anchored
- No water is creeping toward the pump
- Fish aren’t avoiding the flow
A filter isn’t cycled just because it’s running. It takes time. Stable ammonia and nitrite readings at zero, plus steady nitrate production, are what tell you the filter is properly cycled.
Want next steps? Read more about beneficial bacteria or shrimp-safe filtration methods. Try cycling a nano tank or beginner betta tank setup.
Setting up a sponge filter doesn’t have to feel chaotic, and you definitely don’t need to recreate my early torpedo incident. With the right steps and a little patience, sponge filters can be the most reliable part of your aquarium.