Best Aquarium Equipment Upgrades for Beginners: What Actually Matters
The first time I set up a tank, I was absolutely convinced my little starter kit had everything I needed. It looked so simple. Toss in the gravel, plug in the filter, add a plastic plant or two, and boom. Done. Gerald the betta paid the price for that optimism. That tank came with equipment that barely kept water moving, much less kept it healthy. But you’re here trying to figure out the best aquarium equipment upgrades for beginners, which means you’re already way ahead of where I was.
Aquarium kits promise an all-in-one setup, but honestly? Most of the gear inside is closer to a participation trophy than long-term equipment. You can keep fish alive with them for a while, but stability gets rough fast. So many beginners think they’ve failed when really their equipment set them up for a chaotic six months.
What follows is a breakdown of which upgrades actually matter, which ones you can skip, and how to build a tank that stays stable without draining your bank account. You’ll get my honest opinions, specific gear categories to prioritize, and a roadmap you can follow even if you live in a small apartment like I do.
The Upgrade Priority Pyramid: Which Equipment to Replace First
Here’s the thing. Not all upgrades hit with the same impact. Some instantly improve tank stability. Others only help under certain conditions. Think of this as a pyramid, because the base is what supports everything else.
The order that works best for beginners:
- Filtration: the first upgrade where you’ll see real results
- Heater: quiet hero of stable aquariums
- Lighting: matters most for plants and long-term enjoyment
- Hardscape and substrate: more of a design boost than survival boost
- Optional gadgets: everything fun but not required
Why does this order matter? Filtration and heat stability are what keep fish alive. I’ve watched three tanks crash from bad heaters alone, and every single one could’ve been prevented with a $30 upgrade. Lighting affects plants and tank appearance, but it won’t save your fish during a cold snap.
Wondering what the best aquarium equipment upgrades are actually worth the money? Start here.
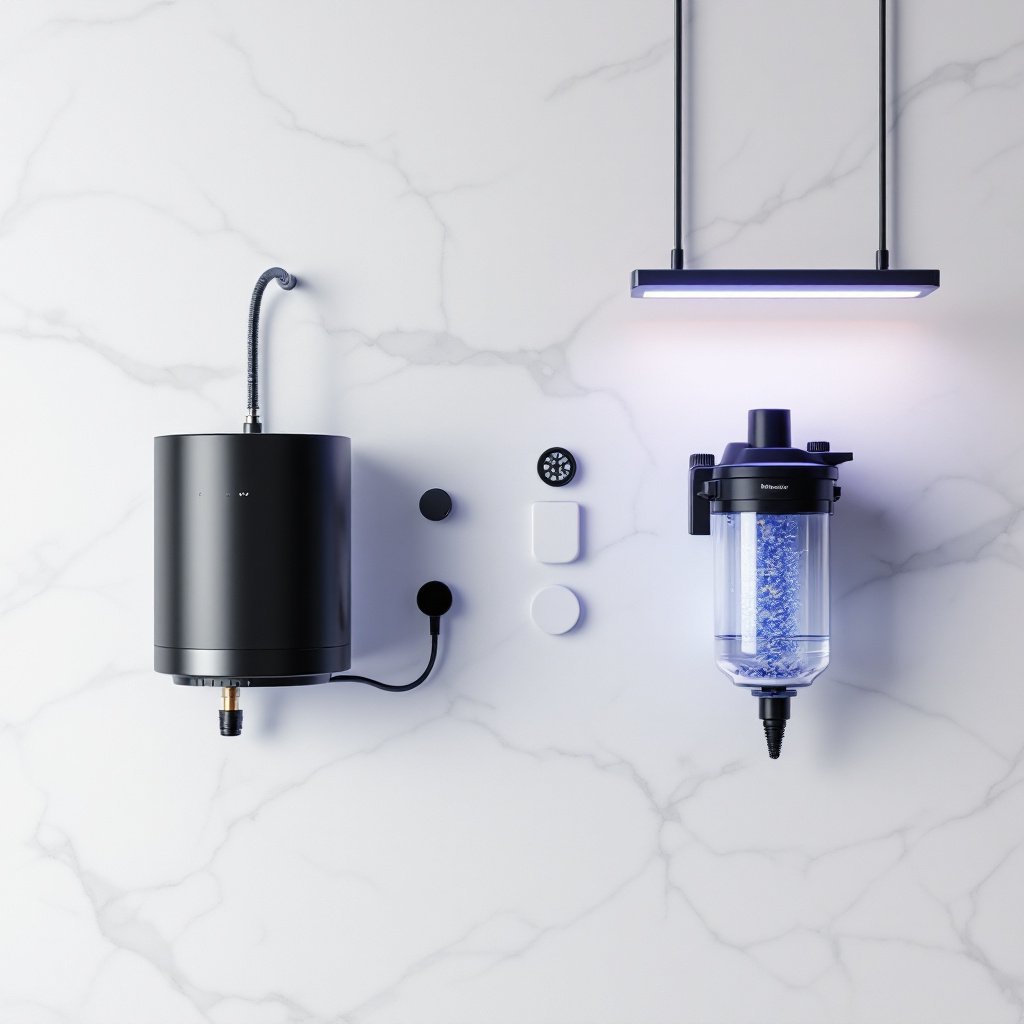
Filtration Face-Off: Hang-On-Back vs. Canister vs. Sponge
Most starter kit filters feel like they were designed by someone who’s never owned a fish. Loud, weak, and often built around disposable cartridges that remove your beneficial bacteria every time you swap them out. Sound familiar?
Hang-On-Back Filters
My go-to recommendation for beginners. Easy to clean, simple to troubleshoot, and capable of handling most small to mid-sized tanks without breaking a sweat. A good HOB gives you better flow and far more biological media than the standard kit filter.
Why do I keep recommending these?
– You can customize the media
– Maintenance takes five minutes
– Great for 5- to 20-gallon tanks
Been wondering whether an aquarium filter upgrade is worth it? The answer is yes. A solid HOB fixes a huge percentage of beginner issues.
Sponge Filters
Okay, these look goofy. I’ll admit it. But they work. Three of my nano tanks run on sponge filters, and I’ve got zero complaints. Gentle, cheap, and perfect for bettas, shrimp, and baby fish.
Visual clutter is the downside, though. For someone who cares about clean lines and negative space like I do, sponge filters can feel clunky in a carefully scaped tank.
Works great with:
– Nano setups under 10 gallons
– Betta tanks where flow needs to stay low
– Breeding tanks with fry
Canister Filters
Beginners ask about these a lot. Powerful and quiet, sure, but I rarely recommend them for tanks under 30 gallons. Hoses, valves, priming, and cleaning cycles can overwhelm new hobbyists. Trust me on this one.
I run these on:
– Larger community tanks
– Heavy stocking situations
– Planted tanks with CO2 injection
A quick note: I sometimes get asked about protein skimmer vs. hang-on-back filter efficiency. Protein skimmers are for saltwater tanks, so unless you’re going that route, skip them entirely.
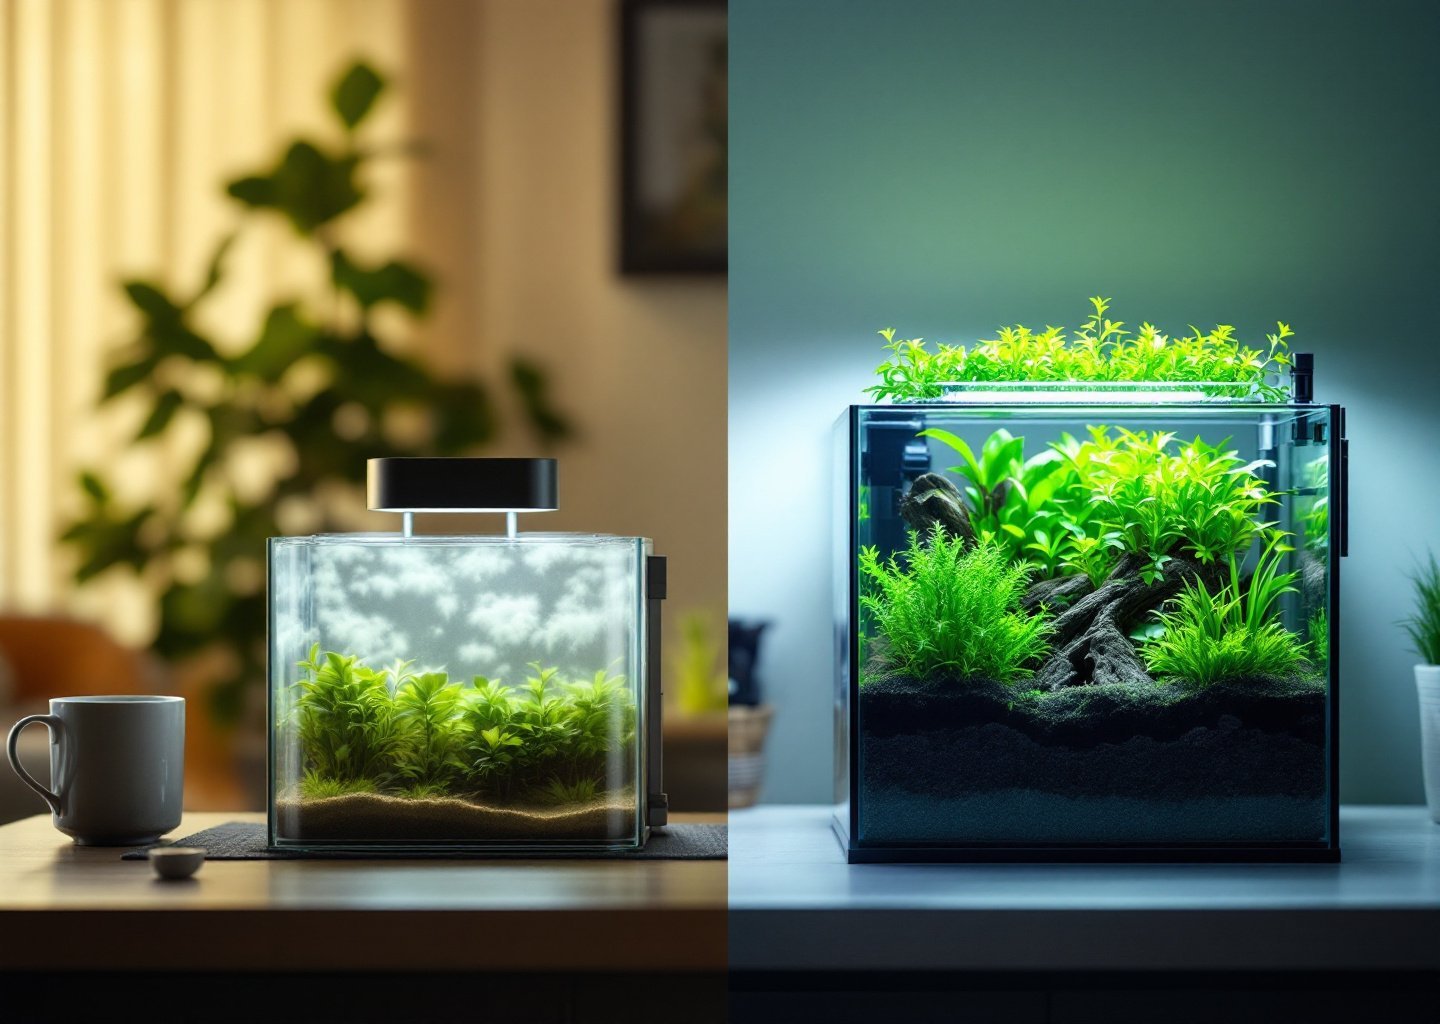
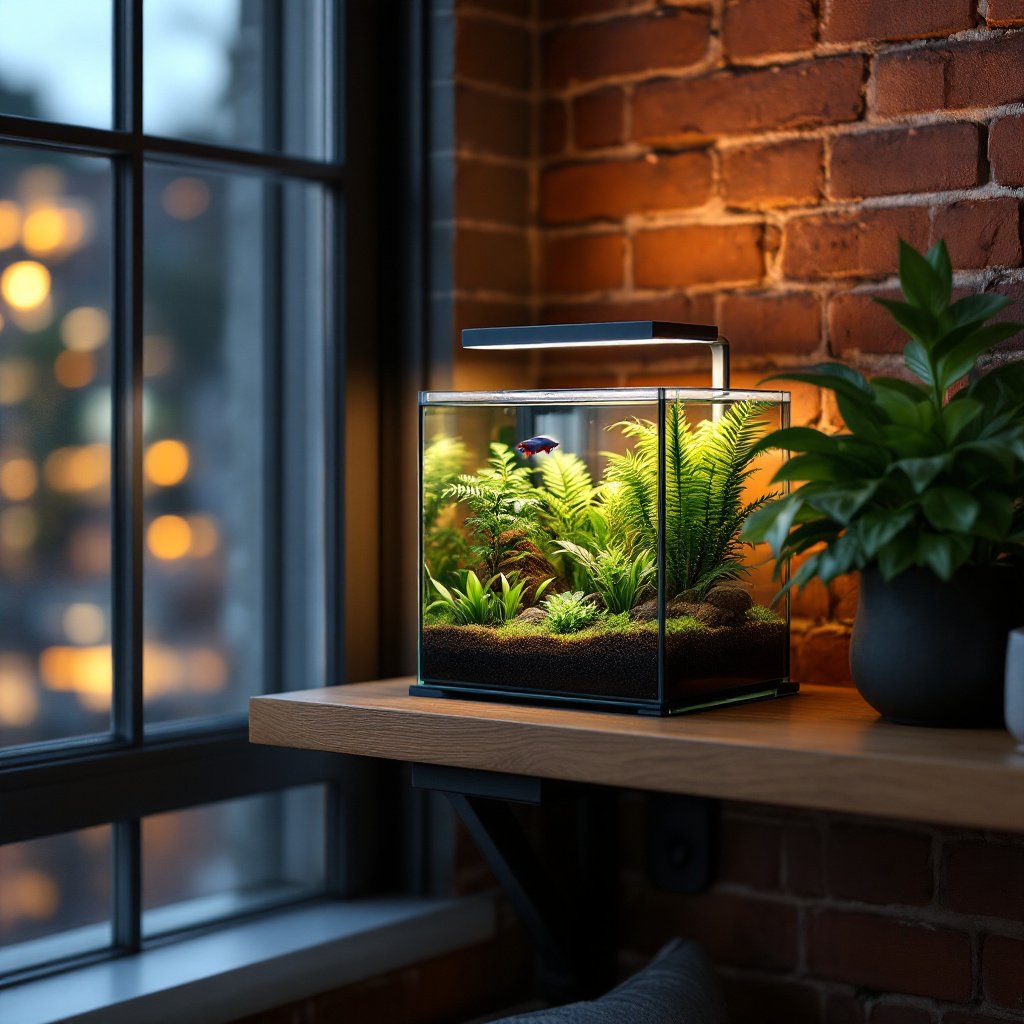
LED Aquarium Light vs. Standard Light: The Honest Comparison Nobody Talks About
A lot of kits include a lid with a tiny strip of LEDs that barely light a fish, much less grow a plant. But beginners also get scared off by high-end lighting because it looks too fancy or too expensive. Totally understandable.
Here’s the simple LED aquarium light vs. standard light comparison that I wish someone had given me.
Standard Kit Lights
Viewing fish is about all these can handle. That’s it. Anything beyond the most forgiving plants like anubias or java fern? Forget it. Color accuracy is usually awful, so tanks look washed out or way too cold.
Upgraded LED Lights
A good LED instantly transforms your tank. Colors pop. Plants perk up. You suddenly see depth and shadows where there weren’t any before. My design brain absolutely loves the control you get over brightness and spectrum.
You don’t need the fanciest light out there. But a mid-tier LED helps your tank look intentional, not accidental.
When I switched to an adjustable LED on my 10-gallon, my dwarf sagittaria went from barely surviving to sending out runners within three weeks. Better color rendering meant I could finally see the iridescent blue on my rasboras that I didn’t even know was there. And being able to dim the lights for a sunset effect? That’s the kind of detail that makes you actually want to sit and watch your tank.
For anyone planning on live plants or caring about aesthetics, upgraded lighting is one of the top aquarium upgrades worth the money.
A Simple Heater Upgrade That Prevents Most Temperature Issues
If you could pick just one thing to upgrade? Make it the heater. Fish hate temperature swings. Apartments, especially older buildings here in Portland, get wild fluctuations. And a heater that comes with a kit is usually tiny, preset, or just plain unreliable.
I’ve lost more shrimp to temperature swings than anything else. Seriously. Spending around $30 on a quality heater upgrade gives you stability that changes the entire tank mood.
Look for:
– Fully adjustable temperature
– Reliable brand
– Internal thermostat
– Shatter-resistant casing
Looking for a heater that won’t fail you in the middle of January? Don’t cheap out here. Stable heat equals stable fish. Period.
Overhyped Gear: Popular Accessories That Aren’t Worth It for Beginners
Some equipment looks cool on YouTube but doesn’t do much for a new hobbyist. Save your money for the upgrades above, and you’ll thank yourself later.
Stuff I skip or tell beginners to avoid:
– Bubblers used only for visual effect
– Automatic feeding machines
– Color-changing LED strips
– Chemical filter boosters
– Fancy food dispensers
– Tank cleaning gadgets that sound futuristic but barely work
Most of this stuff doesn’t do what it claims. The real issues? Usually come down to filtration or heat.
Feeling overwhelmed? Can’t blame you. Here’s the simple version. This is the same plan I used when I upgraded my own tanks one by one across my apartment.
Month 1: Filter Upgrade
Pick a solid HOB or sponge filter. Biggest payoff for the least hassle.
filter upgrade guide
Month 2: Heater Upgrade
Buy the $30 adjustable heater. You’ll sleep better. Promise.
Month 3: Light Upgrade
Choose a mid-range LED for plants or a more polished look.
planted tank lighting guide
Month 4: Substrate or Hardscape
Get creative here. Honestly, I thrift half my hardscape. No shame in that.
Month 5: Optional Tech
Add timers, water testing pens, or small convenience tools.
Month 6: Review and Adjust
Ask yourself what still feels unstable. Fix only what matters.
beginner tank troubleshooting
Follow this roadmap and you’ll have a tank that actually works without blowing your budget all at once. These upgrades target the issues that actually cause tank crashes, which is why they’re the best aquarium equipment upgrades for beginners.
And if you’re on a tight budget? Spread it out. That’s exactly how I built my seven tiny tanks. Bit by bit, upgrade by upgrade, until everything just worked.