I Killed My First Fish: A Complete Guide to the Aquarium Nitrogen Cycle
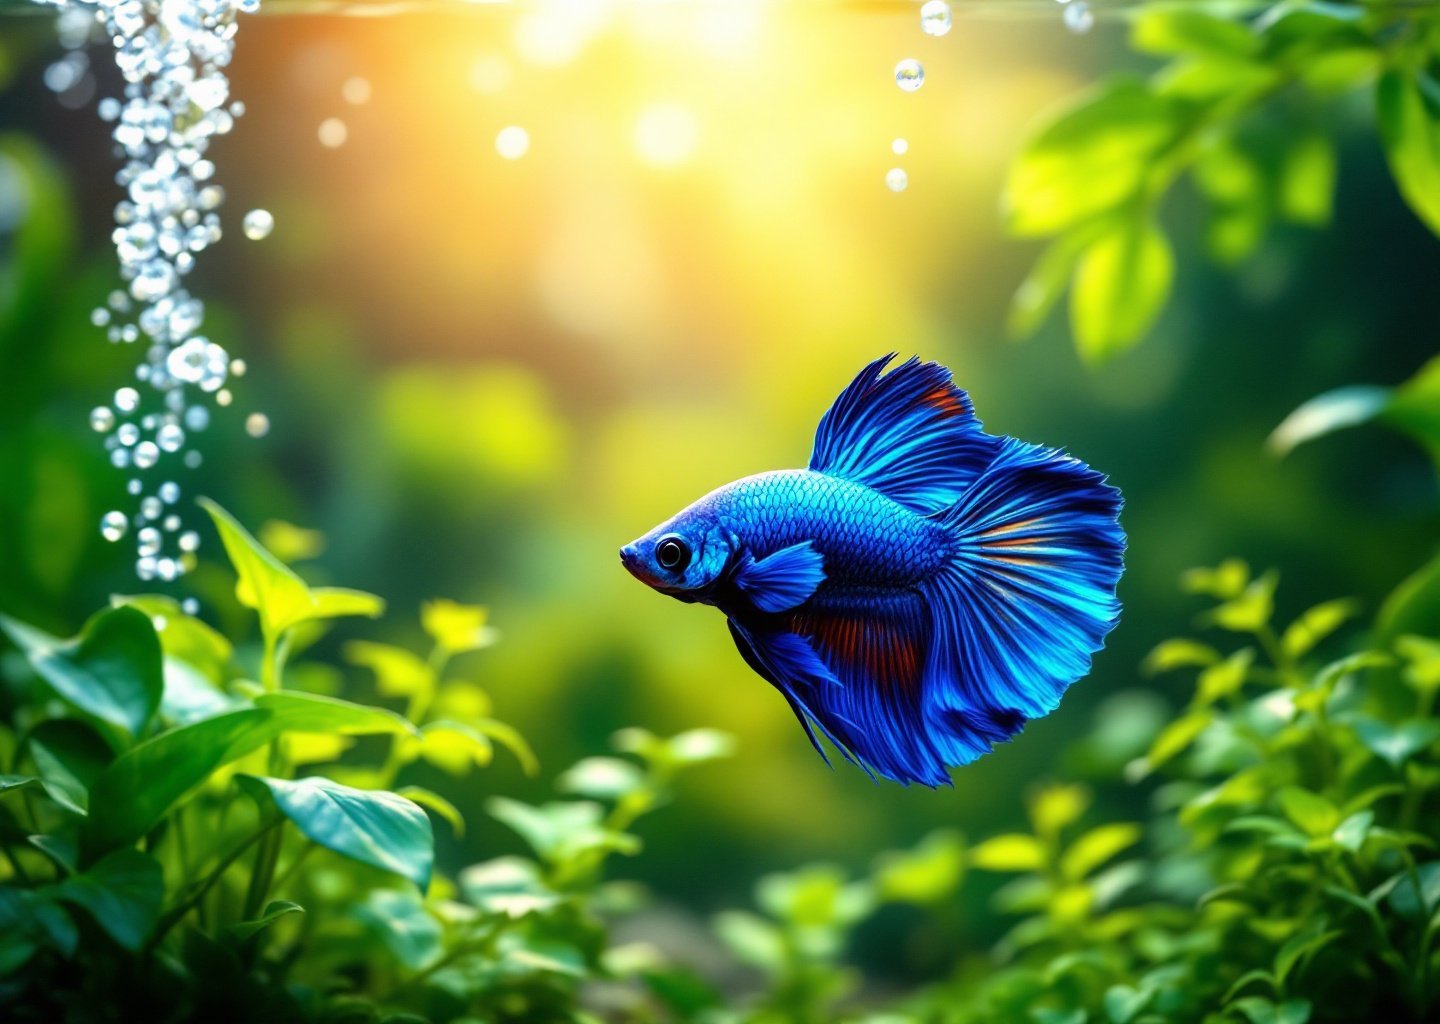
I killed my first fish. His name was Gerald, a gorgeous blue betta with flowing fins that I picked up from a big-box pet store along with a cute 3-gallon tank, some gravel, and exactly zero understanding of aquarium chemistry. Three weeks later, Gerald was floating at the surface, and I was crying into my uncycled tank wondering what went wrong.
What the pet store employee never mentioned: the nitrogen cycle is everything. Get it wrong, and your fish die. Get it right, and you’ve built a self-sustaining ecosystem that can thrive for years.
“New tank syndrome” is just a polite way of saying ammonia poisoning from an uncycled aquarium. And it’s completely preventable.
When I finally had the nitrogen cycle explained to me properly, everything clicked. Most resources either oversimplify it (“just wait a few weeks!”) or drown you in chemistry jargon that makes your eyes glaze over.
I’m going to walk you through how the nitrogen cycle actually works in an aquarium, share realistic timelines based on my own experiences cycling seven tanks, and bust some myths that pet stores conveniently forget to mention. By the end, you’ll know exactly when it’s safe to add fish and have the confidence to test your own water without second-guessing yourself.
The 3 Stages of the Aquarium Nitrogen Cycle (With Test Kit Numbers)
Think of it as a three-part relay race where beneficial bacteria serve as the runners.
Stage 1: The Ammonia Spike
Fish produce waste. That waste, along with uneaten food and decaying plant matter, breaks down into ammonia (NH₃). Ammonia is toxic to fish at levels above 0.25 ppm and lethal at 1–2 ppm, depending on your pH.
In a new tank, you’ll see ammonia climb to 2–4 ppm during the first week or two. Totally normal and expected. Don’t panic.
Test kit readings at this stage:
– Ammonia: 2–4 ppm (rising)
– Nitrite: 0 ppm
– Nitrate: 0 ppm
Stage 2: The Nitrite Spike
Beneficial bacteria finally show up to the party. Nitrosomonas bacteria colonize your filter media and start converting ammonia into nitrite (NO₂). Nitrite is also toxic to fish, just in a different way. It binds to hemoglobin and prevents oxygen absorption.
Around weeks 2–3, you’ll notice ammonia starting to drop while nitrite spikes. Some people see nitrite readings over 5 ppm, which looks alarming but is actually a sign that things are working.
Test kit readings at this stage:
– Ammonia: Dropping (0.5–1 ppm)
– Nitrite: Rising (2–5+ ppm)
– Nitrate: Starting to appear (5–10 ppm)
Stage 3: The Conversion to Nitrate
A second type of bacteria called Nitrobacter takes over, converting nitrite into nitrate (NO₃). Nitrate is far less toxic and can be removed through regular water changes.
When ammonia and nitrite both read 0 ppm for three consecutive days while nitrate is present (usually 10–40 ppm), congratulations. Your tank is cycled.
Test kit readings at this stage:
– Ammonia: 0 ppm
– Nitrite: 0 ppm
– Nitrate: 10–40 ppm
Pro tip: Get the API Master Test Kit. Yes, it’s more expensive than strips, but strips are notoriously inaccurate and will make you second-guess every reading. I learned this the hard way after strips told me my tank was cycled when it absolutely wasn’t.
Biological Filter Media Types Compared: Sponge vs. Ceramic vs. Bio-Balls
Bacteria need somewhere to live. That’s where biological filter media comes in. I’ve tested all of these extensively, so here’s my honest take.
Sponge Media
Best for: Nano tanks, supplemental filtration, breeding tanks
Sponge provides decent surface area for bacteria and has the bonus of mechanical filtration. I run sponge filters in three of my nano tanks, and they work beautifully for low-bioload setups. Downside? Limited surface area compared to other options.
Ceramic Rings/Balls

Best for: Most freshwater setups. Honestly, this is the best bio-filter media for freshwater aquariums in my opinion.
Ceramic media is porous, meaning bacteria can colonize both the surface and the interior. Brands like generic ceramic rings offer serious surface area in a small footprint. Seachem Matrix is another popular option, a porous pumice-based (volcanic stone) media that works similarly. I run these in my planted tanks and haven’t looked back.
Bio-Balls
Best for: Sumps, wet/dry filters, high-flow systems
Bio-balls were popular in the ’90s and still have their place in larger setups. They’re excellent for gas exchange but actually have less surface area than ceramic media. For most beginners with standard hang-on-back filters, bio-balls are overkill.
My recommendation: Ceramic rings or a quality sponge for most beginners. Don’t get sucked into buying expensive “premium” media with fancy marketing claims. Basic ceramic rings work fine.
hang-on-back filter setup guide
Fishless Cycling Method: Step-by-Step with Realistic Timeline
If I could go back and tell past-Sophie one thing, it would be this: cycle your tank before adding fish. Fishless cycling isn’t complicated, but patience is non-negotiable.
What You’ll Need:
- Ammonia source (pure ammonia or fish food)
- API Master Test Kit
- Patience (I can’t stress this enough)
Week 1: Getting Started
Set up your tank with the filter running, heater set to 78–80°F (bacteria multiply faster in warmer water), and any substrate or decorations you want. Add ammonia until your test reads 2–4 ppm.
If using pure ammonia, get one without surfactants or fragrances. Dr. Tim’s Ammonia is a safe bet. If using fish food, drop in a pinch and let it rot. Gross? Yes. Effective? Also yes.
Weeks 2–3: The Waiting Game
Test every other day. Add ammonia to maintain 2–4 ppm whenever it drops. Around week 2, you should start seeing nitrite.
Real talk: this phase is boring as hell. You’ll question whether anything is happening. Trust the process.
Weeks 3–5: Almost There
Nitrite will spike, sometimes dramatically. Keep feeding ammonia. Around weeks 4–5, you’ll notice both ammonia and nitrite starting to drop within 24 hours of adding ammonia.
Weeks 5–8: Finishing Strong
A tank is cycled when it can process 2–4 ppm of ammonia to 0 ammonia and 0 nitrite within 24 hours. Some tanks finish in 4 weeks. Others take 8. I’ve had tanks take 6 weeks in summer and 8 weeks in winter. Temperature matters.
How long does it take to cycle a new aquarium? Honestly, 4–8 weeks is realistic. Anyone promising faster results is either using seeded media or selling you something.
Seeded Filter Media vs. Bottled Bacteria: An Honest Comparison
Okay, but what about shortcuts? When exploring how to speed up aquarium cycling safely, you’ll encounter two main options: seeded media and bottled bacteria. I’ve tested both extensively.
Seeded Filter Media
What it is: Established filter media from a cycled tank, already colonized with beneficial bacteria.
Does it work? Yes. Extremely well. Genuinely the fastest way to cycle a tank. I’ve cycled tanks in under a week using a seasoned sponge from an established aquarium.
The catch: You need access to an established tank. Could be a friend’s tank, a local fish club member, or your own existing setup. Some fish stores will give you used media if you ask nicely.

My verdict: If you can get it, use it. Gold standard for speeding up cycling.
Bottled Bacteria
What it is: Commercial products claiming to contain live nitrifying bacteria.
Does it work? Sometimes. Maybe. It’s complicated.
Some bottled bacteria products are essentially snake oil. Others, like Fritz TurboStart or Dr. Tim’s One and Only, contain actual nitrifying bacteria that can help. But shelf stability is questionable, storage conditions matter, and results are inconsistent.
I’ve used bottled bacteria that cut my cycling time to 2 weeks. I’ve also used bottled bacteria that did absolutely nothing. Same brand, different bottles.
My verdict: Worth trying as a supplement, but don’t rely on it. Never skip testing because you used a bottled product.
best aquarium water conditioners
5 Visible Signs Your Biological Filtration Is Actually Established
Test kits are your most reliable tool, but there are visible signs of established biological filtration you can observe without grabbing your test tubes.
1. Biofilm on Surfaces
A slight slimy film on rocks, driftwood, or glass is actually bacteria colonizing. Not pretty, but a good sign. Don’t scrub it all off during your first cleaning.
2. Mulm Accumulation
Brown gunk collecting in your filter or substrate? That’s detritus, and it’s packed with beneficial bacteria. A little mulm is healthy. I actually seed new tanks with some mulm from established ones.
3. Clear, Non-Smelly Water
Cycled tanks smell earthy, like a forest floor. Uncycled tanks with ammonia issues smell sharp and unpleasant. If your water suddenly starts smelling like a pet store in summer, test immediately.
4. Brown/Green Tint to Filter Media
New white filter floss turns brown over time as bacteria colonize and trap debris. Totally normal and healthy. Don’t replace filter media just because it looks dirty.
5. Stable Parameters Over Multiple Days
Here’s the real test: ammonia, nitrite, and nitrate levels stay consistent when tested several days apart. Cycling isn’t done until you see stability, not just good numbers once.
Let me leave you with a practical checklist because having the nitrogen cycle explained is one thing, but actually doing it right is another.
Before Adding Fish, Confirm:
- [ ] Ammonia reads 0 ppm
- [ ] Nitrite reads 0 ppm
- [ ] Nitrate is present (10–40 ppm)
- [ ] You can dose 2–4 ppm ammonia and it processes to 0/0 within 24 hours
- [ ] You’ve seen stable readings for at least 3 consecutive days
- [ ] You’ve done a large water change (50–70%) to reduce nitrates before adding fish
Your First Fish Addition:
Add fish gradually. I know it’s tempting to stock your tank immediately after weeks of staring at empty water. But your bacterial colony is sized to the ammonia load it’s been processing. Dump in ten fish at once, and you risk a mini-cycle.
Start with 2–3 small fish. Wait two weeks. Test. If everything looks good, add a few more. Slow and steady keeps fish alive.
Look, I wish someone had handed me this guide before Gerald’s untimely demise. Nitrogen cycling isn’t sexy, and it requires patience that our instant-gratification brains hate. But understanding how to cycle a new aquarium properly is the single most important thing you can do for your future fish.
Seven tanks later, I’ve never lost another fish to new tank syndrome. And once you get through your first successful cycle, setting up new tanks becomes almost routine. Almost. I still get impatient around week 3. Some things never change.
Now go cycle that tank. Your future fish will thank you.